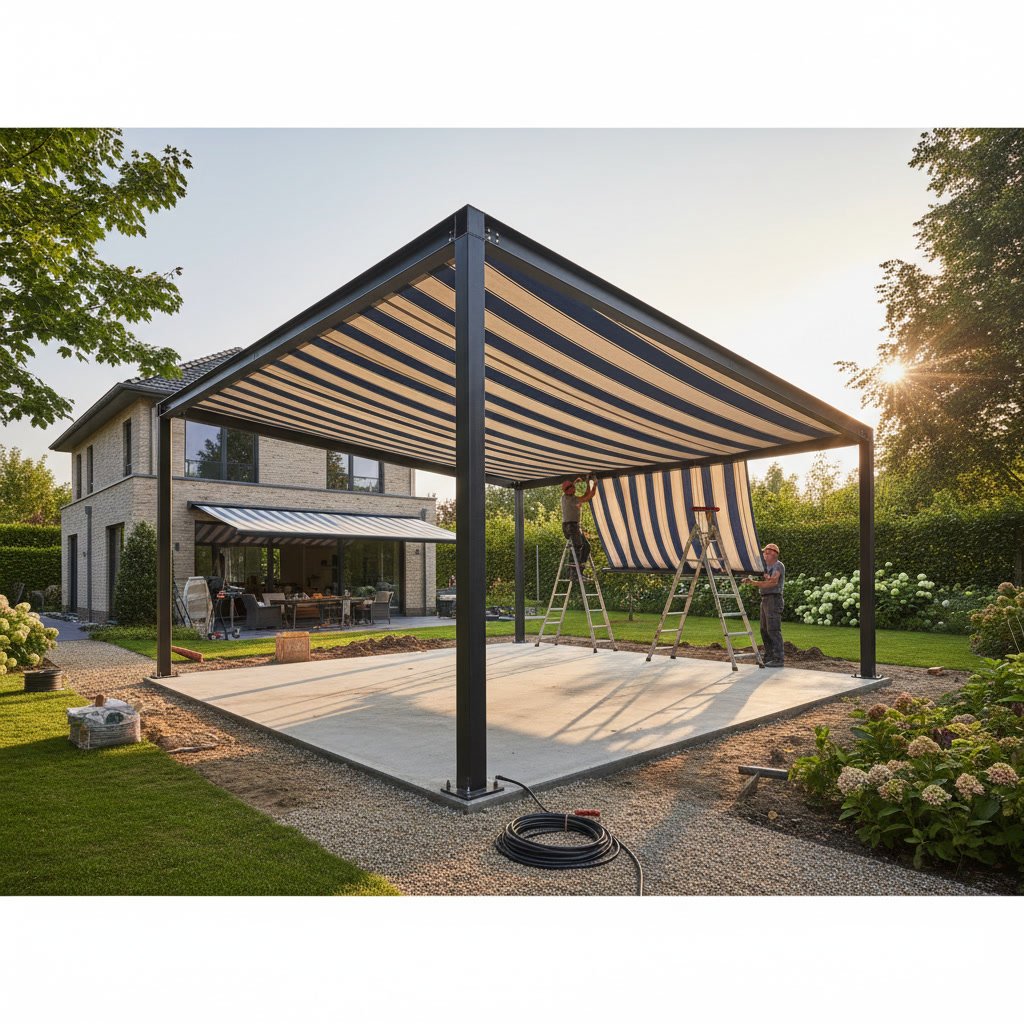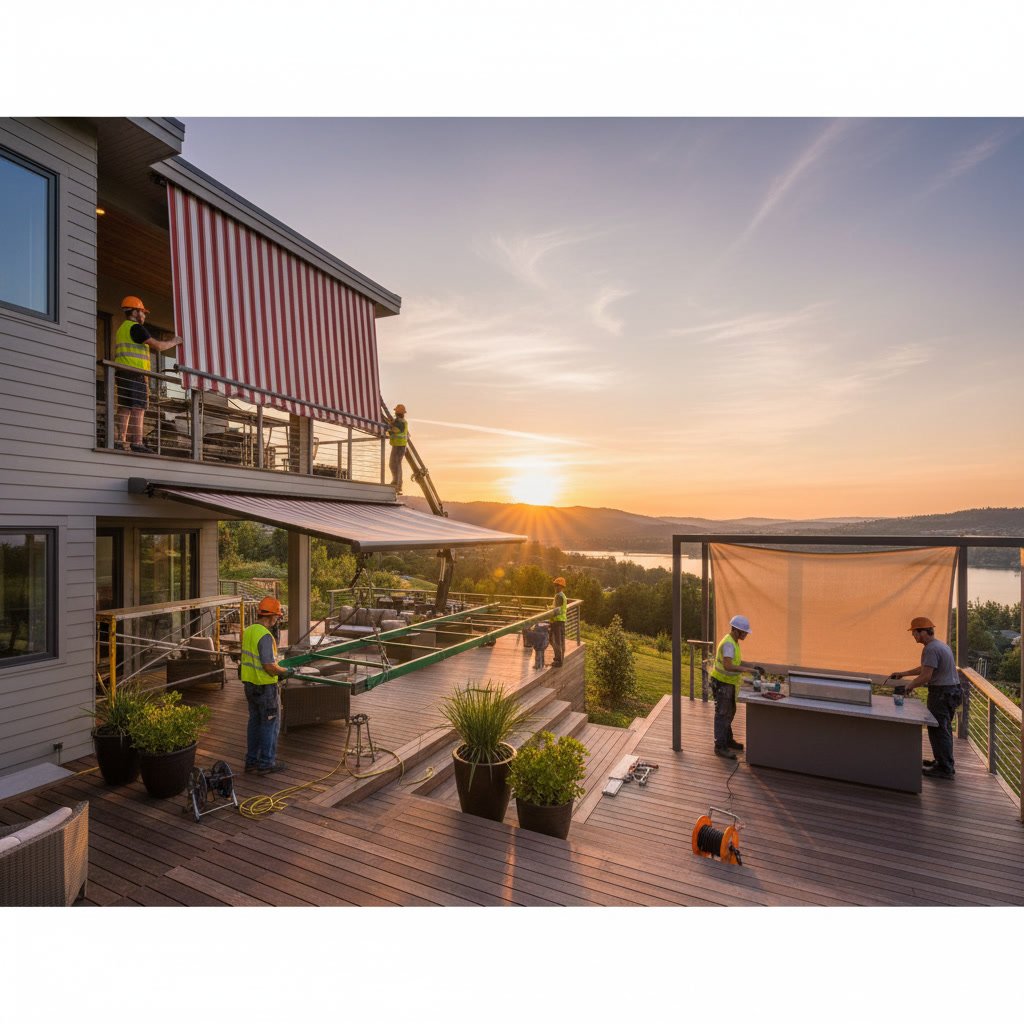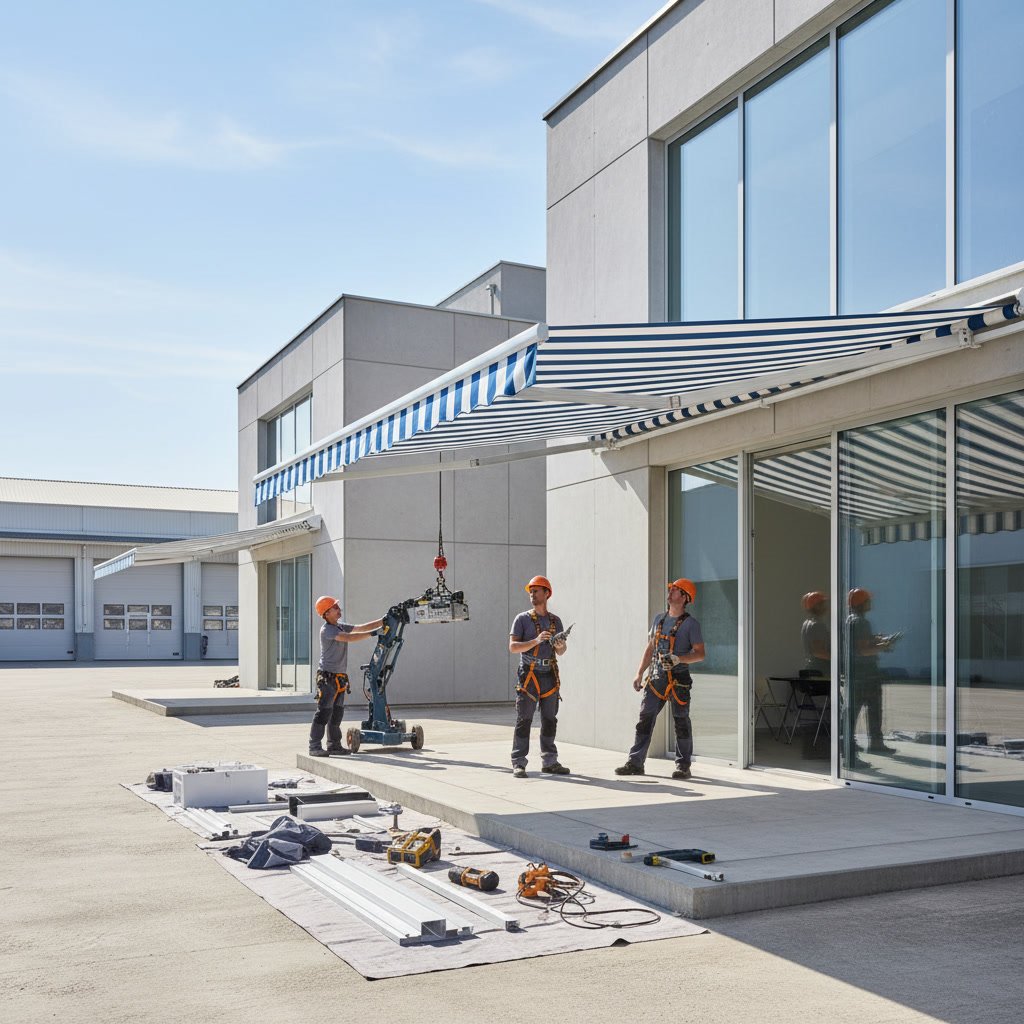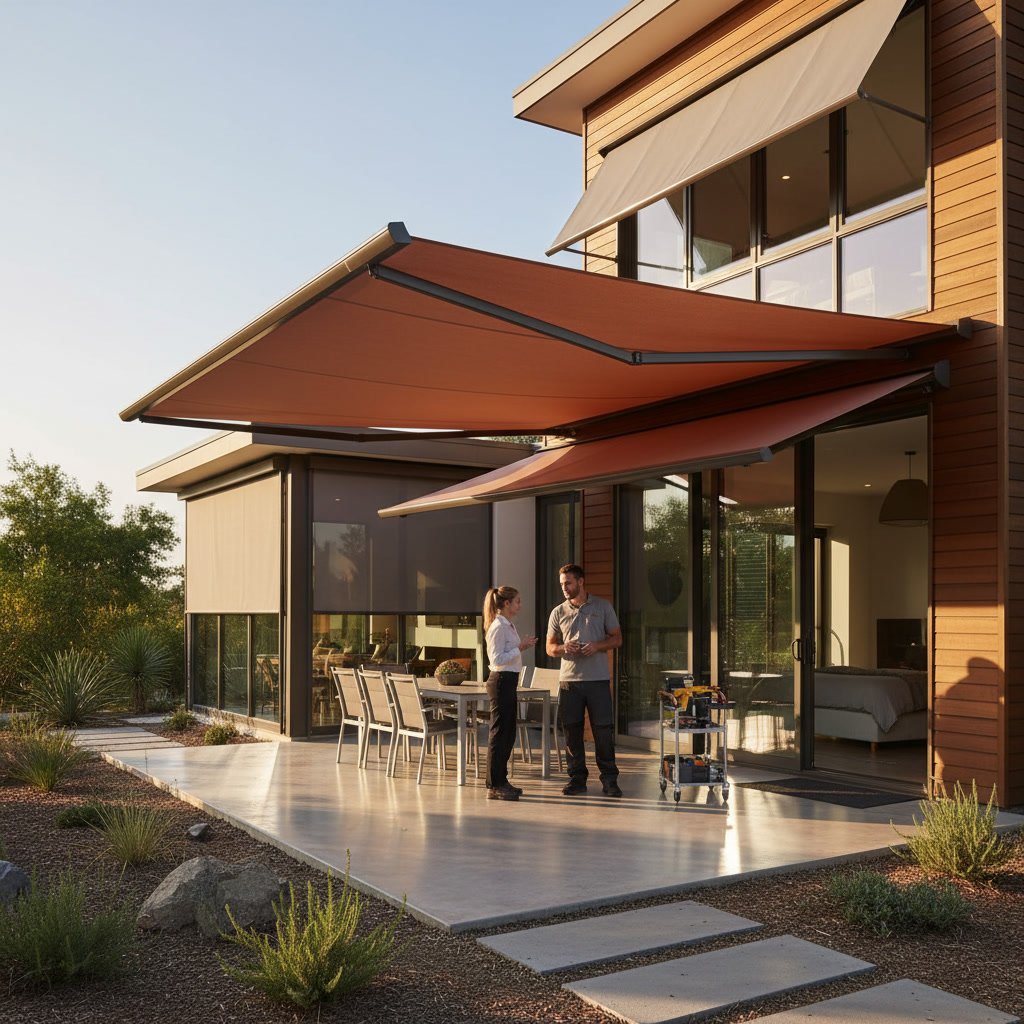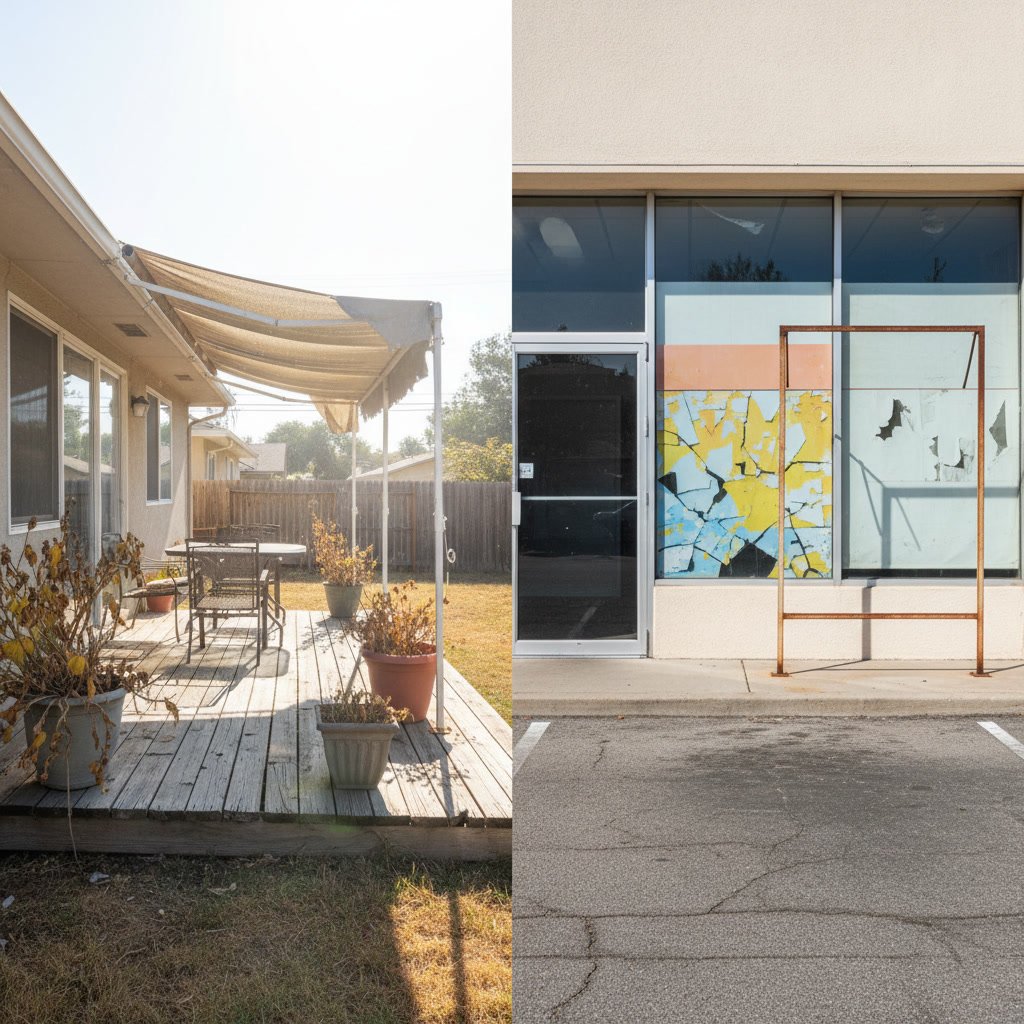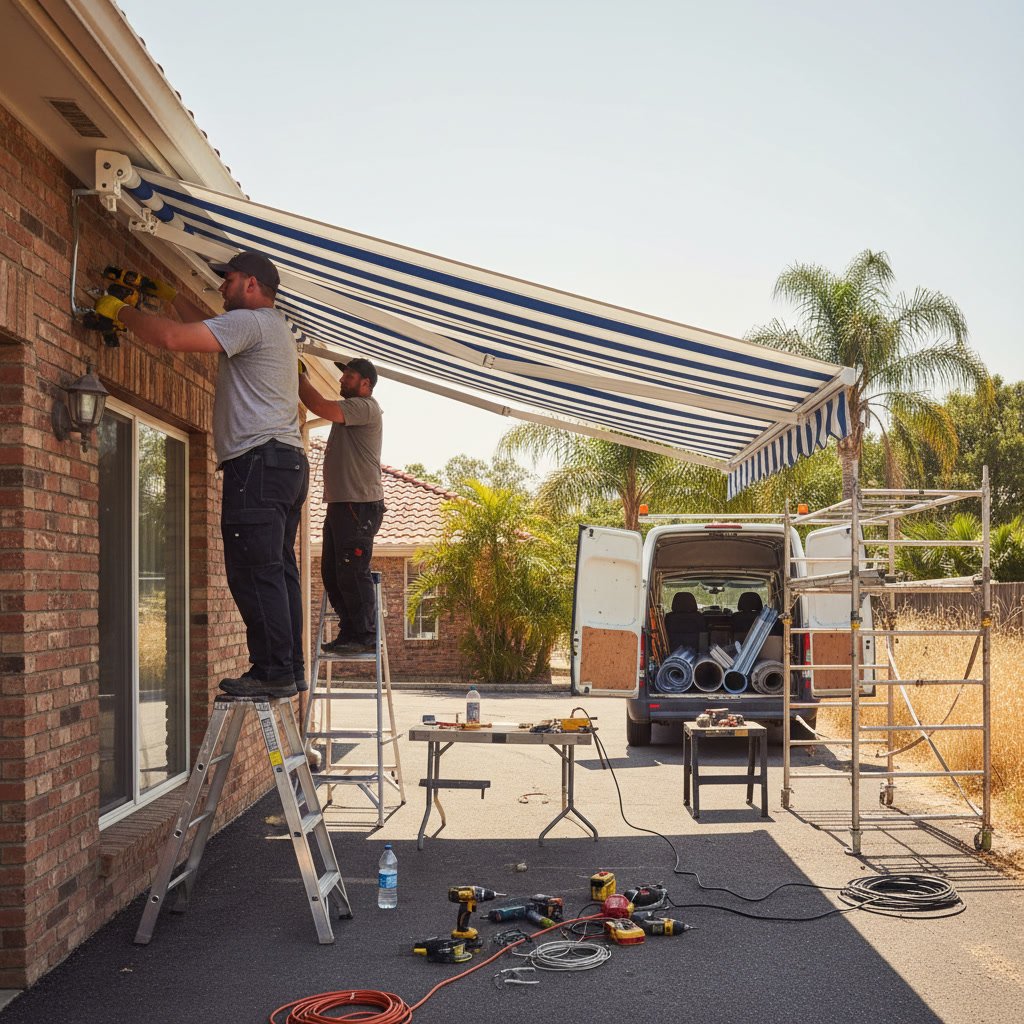
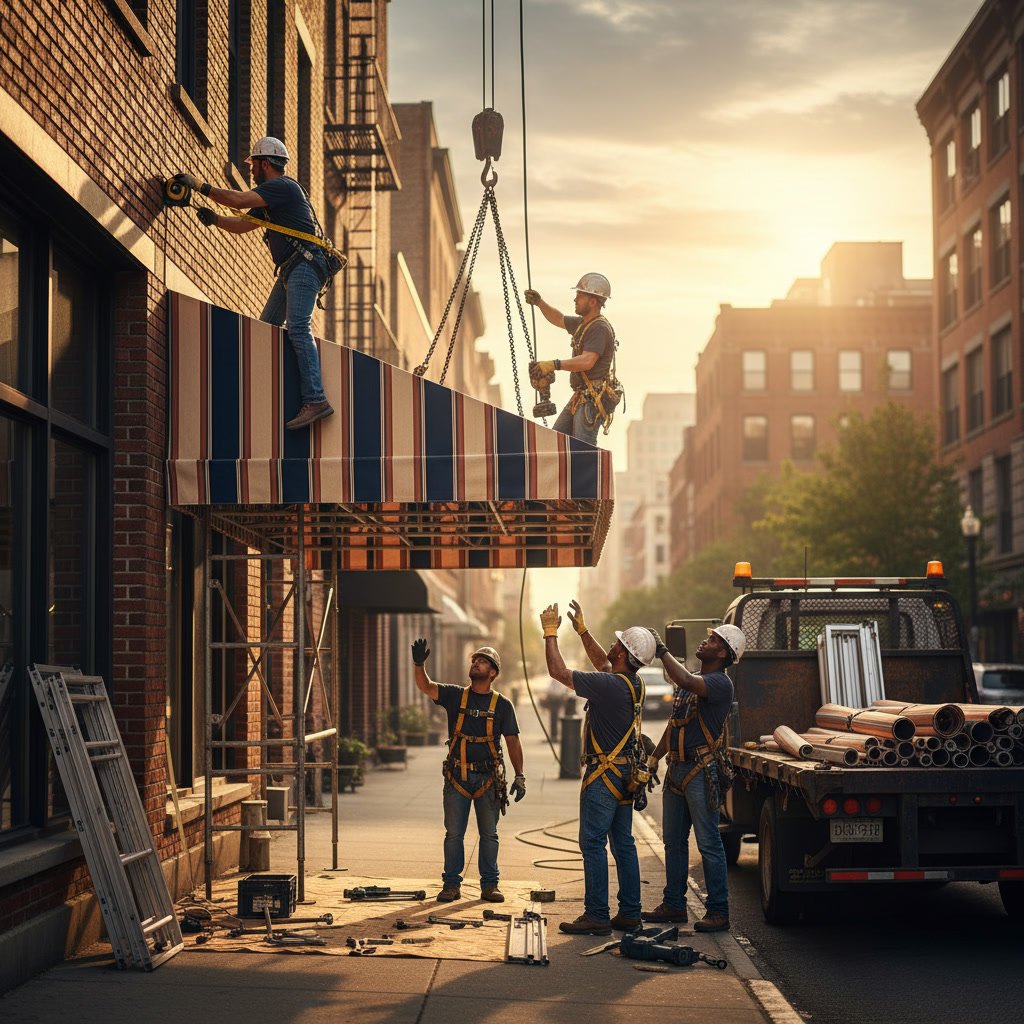
Professional awning installation follows a precise sequence of steps, from the initial site measurement through mounting, assembly, and final adjustments. Understanding the awning installation process helps you prepare your property and know what to expect from your installer. Most residential installations take four to eight hours from start to finish, depending on the size and type of awning you choose.
Why Proper Installation Makes or Breaks Your Awning
Your awning represents a significant investment in your outdoor comfort and property value. Even the highest-quality fabric and frame will fail prematurely if the mounting and setup aren’t done correctly. Poor installation creates water pooling, uneven stress on the frame, and mounting points that pull away from your home during storms. Professional installers understand load distribution, wall penetration sealing, and pitch angles that protect both your awning and your building envelope.
Factory-direct companies often provide better installation outcomes because the same team handles your order from specification through setup. When you work with Sales & Installations specialists who understand every product they sell, you avoid the communication gaps that plague subcontractor models.
What Happens During Your Initial Consultation
The installation journey starts with an on-site visit to evaluate your space. A qualified installer examines the mounting surface to verify it can support the awning’s weight and wind load. Brick, concrete, and wood siding each require different fastener types and installation techniques. The professional checks for hidden obstacles like electrical wiring, plumbing, or HVAC components that might complicate the mounting process.
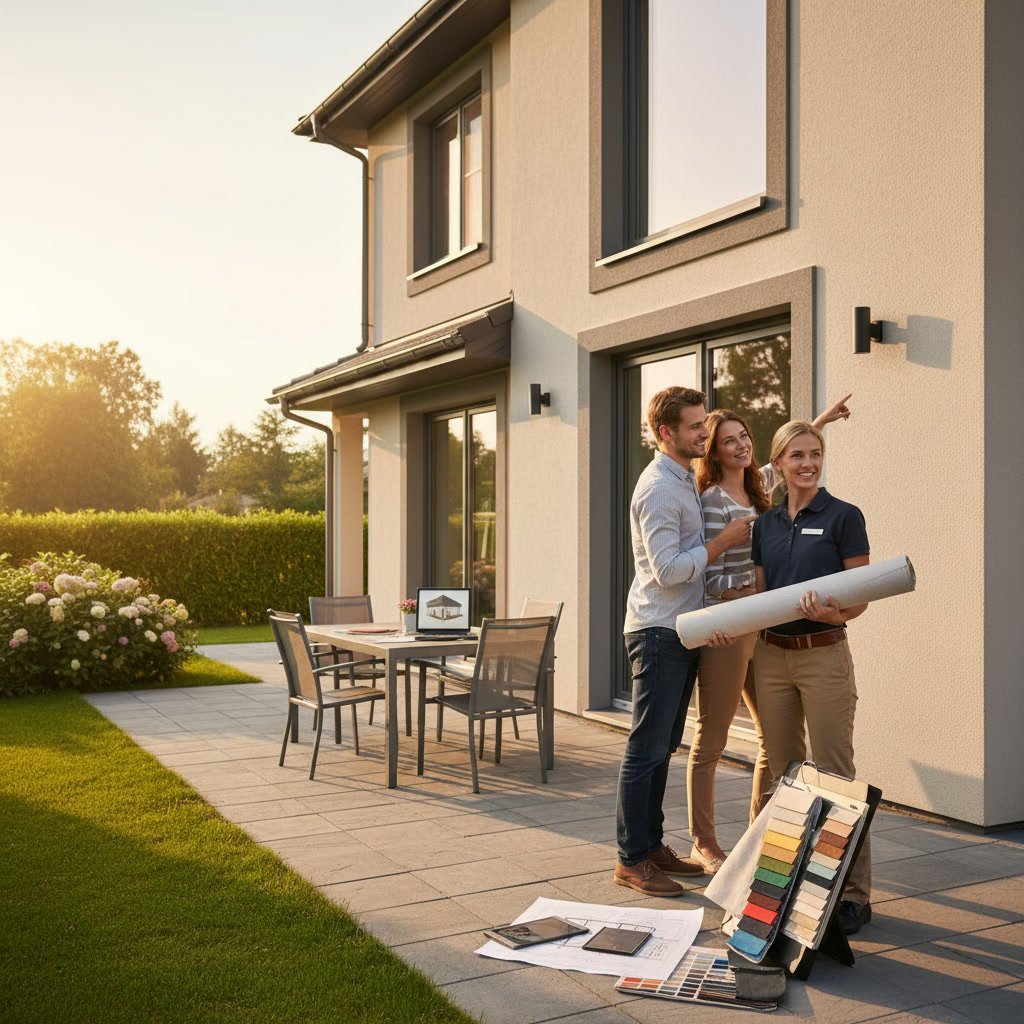
During this visit, you discuss coverage area, extension depth, and how you plan to use the space. These conversations shape critical decisions about awning size, fabric color, and whether a motorized or manual system fits your needs better. The installer takes detailed measurements of the area, noting any slopes, overhangs, or architectural features that affect placement.
Precision Measurement and Custom Fabrication
Accurate measurements determine whether your awning performs as expected. Installers measure the width of the area you want to shade, the available mounting height, and the desired projection distance. They account for door and window clearances, light fixtures, and any other elements that could interfere with the awning’s operation.
These measurements get sent to the fabrication facility, where your awning is built to your exact specifications. Custom fabrication typically takes two to four weeks, though standard sizes may ship faster. The manufacturing process includes cutting the frame components, hemming and sewing the fabric, and pre-assembling sections that will be put together on-site. Quality control inspectors verify dimensions before the unit ships to avoid costly delays and reinstallation.
Pre-Installation Site Preparation on Kent Island Properties
Before installation day, your installer confirms that the mounting area is clear and accessible. You should remove furniture, plants, and decorations from the work zone. The team needs about six feet of clearance in front of the mounting wall and overhead access for ladders or lifts.
Properties across Kent Island vary in construction style and age, which affects preparation requirements. Older homes may need additional blocking installed between studs to create solid mounting points. Vinyl siding sometimes requires removal and reinstallation around the brackets to maintain a weather-tight seal. The installer identifies these needs during the consultation so there are no surprises on installation day.
Step-by-Step Installation Process
Professional awning installation follows a methodical sequence that ensures structural integrity and proper function. Each phase builds on the previous work, so rushing or skipping steps compromises the entire installation.
1. Layout and Marking
The installer marks the exact bracket locations on your wall using a level and measuring tools. These marks must be perfectly level and positioned at precise intervals to support the awning evenly. Even a quarter-inch error can create stress points that damage the frame over time.
2. Drilling and Mounting Preparation
Holes are drilled through the siding and into the structural backing. The installer verifies that each hole reaches solid wood or masonry, not just sheathing or insulation. Mounting into insufficient backing is the leading cause of awning failures during wind events.
3. Bracket Installation
Heavy-duty mounting brackets attach to the wall with lag screws or through-bolts. Each fastener gets torqued to manufacturer specifications. The installer applies sealant around each penetration to prevent water intrusion behind your siding. This step protects your home from moisture damage and rot.
4. Frame Assembly
The awning frame is assembled on the ground or partially assembled before lifting into place. Support arms, roller tubes, and end caps connect according to the manufacturer’s engineering specifications. Retractable awnings require careful alignment of the rolling mechanism to ensure smooth operation.
5. Lifting and Securing
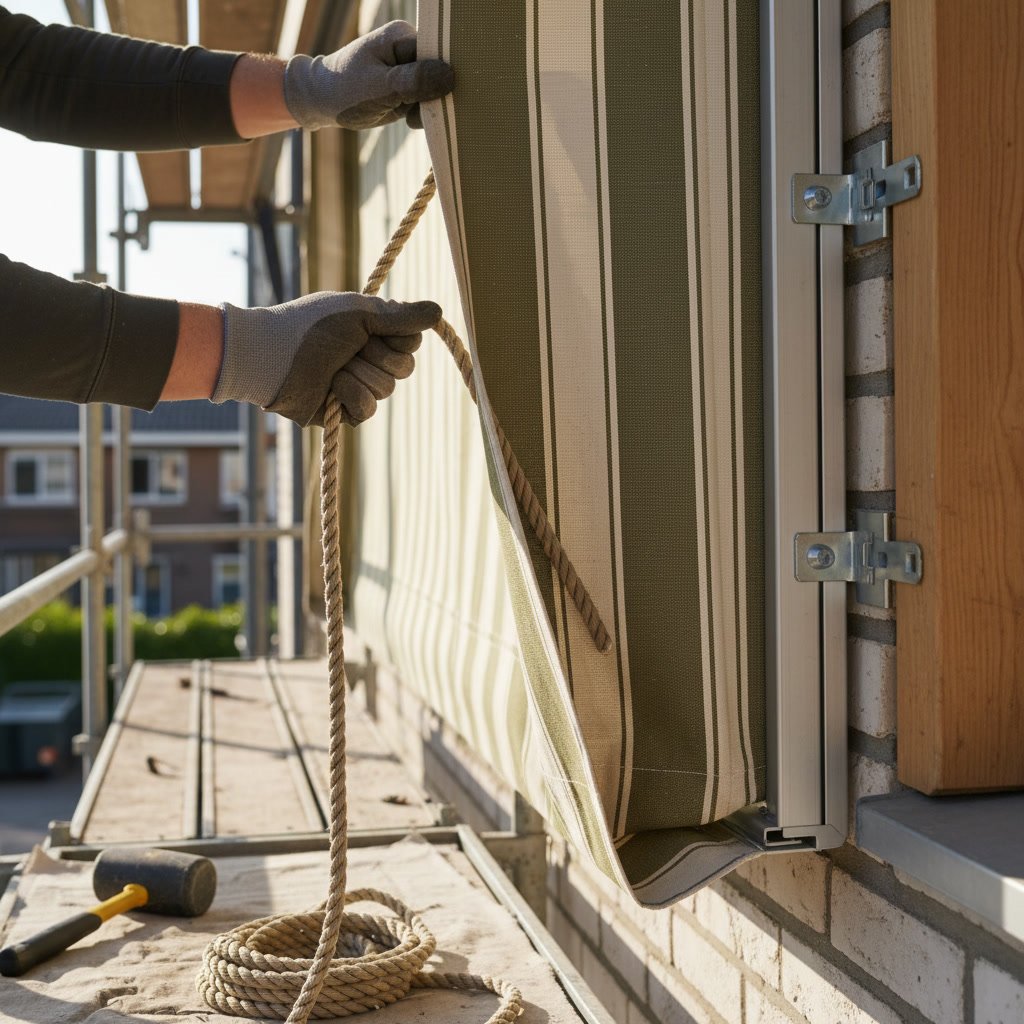
The assembled frame is lifted and secured to the wall brackets. This phase often requires two or more technicians to manage the weight safely and avoid damage to the awning or your property. The frame is temporarily secured while final adjustments are made.
6. Fabric Attachment
The awning fabric is unrolled and attached to the roller tube or fixed frame. Tension adjustments ensure the fabric sits evenly without wrinkles or sagging. Proper tension prevents water pooling and extends fabric life.
Electrical Work for Motorized Awnings
Motorized awnings require electrical connections that meet local building codes. The motor typically mounts inside the roller tube, with wiring running through the mounting bracket to a power source. Licensed installers either tap into an existing exterior outlet or install a dedicated circuit if your electrical panel has capacity.
Some installations include weather sensors that automatically retract the awning when wind speeds or rainfall reach preset thresholds. These sensors need calibration and testing to ensure they respond appropriately without over-reacting to normal weather conditions. Understanding cost factors in Maryland installations helps you budget for these automated features if they interest you.
Final Adjustments and Pitch Setting
Once the awning is mounted and operational, the installer makes critical adjustments to optimize performance. The pitch angle determines how water runs off the fabric during rain. Most residential awnings are set between 15 and 25 degrees. Too shallow, and water pools in the center. Too steep, and you lose headroom underneath.
Support arm tension is calibrated so the awning extends and retracts smoothly without binding or sagging. The installer tests the full range of motion multiple times, checking for unusual sounds or resistance that might indicate alignment issues. These adjustments take experience to get right, which is why choosing established Residential Shade Solutions providers matters.
Testing and Quality Verification
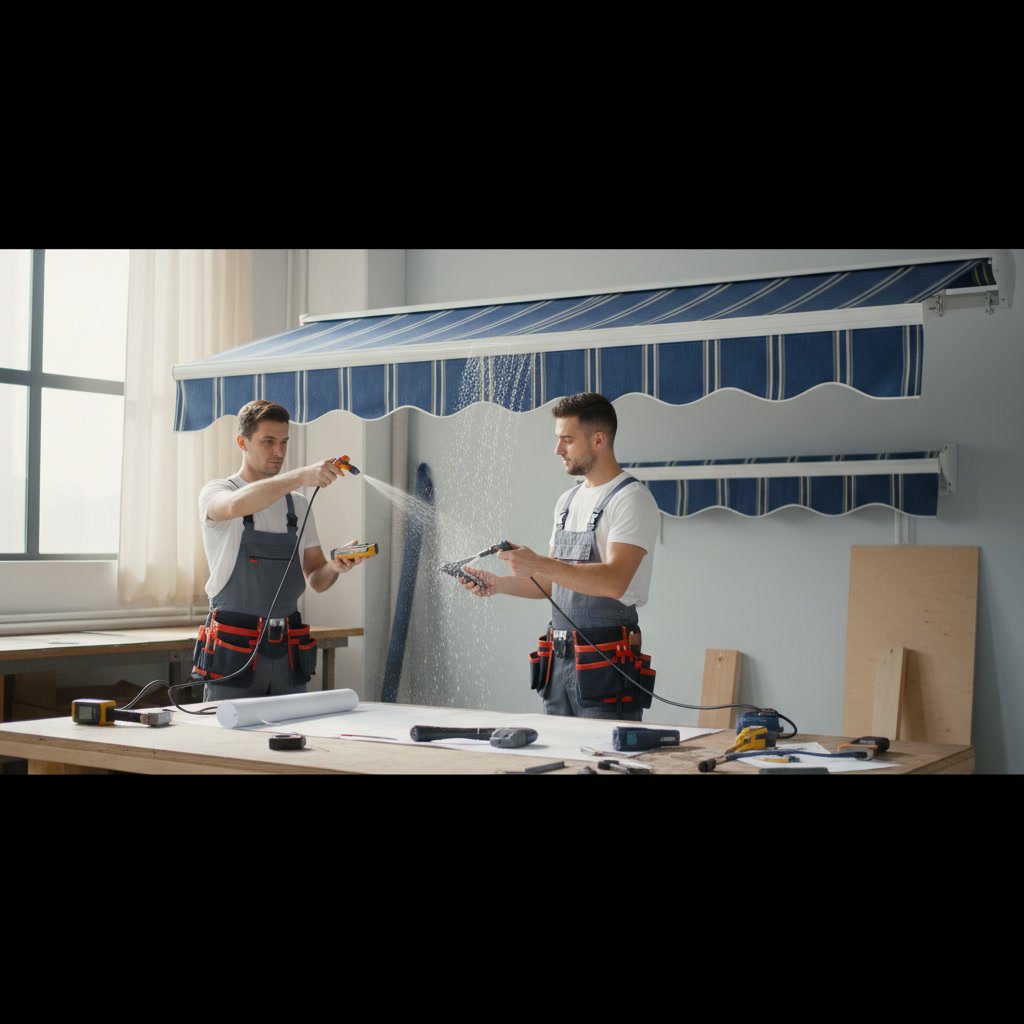
Before leaving your property, professional installers perform a complete function test. They extend and retract the awning through several full cycles, checking that the fabric rolls evenly and the frame operates without stress or noise. Motorized systems are tested with both the wall switch and remote control to verify all functions work correctly.
The installer examines all mounting points one final time, confirming that fasteners are tight and sealant has been applied properly. They clean the work area, removing all packaging, fastener debris, and any siding or trim pieces that were temporarily removed. You receive operation instructions, warranty documentation, and maintenance recommendations before the installer leaves.
Common Installation Challenges and Solutions
Even straightforward installations occasionally encounter unexpected conditions. Older homes sometimes have rotted fascia boards or deteriorated sheathing that must be repaired before mounting brackets can be installed safely. Discovering these issues during installation can delay the project by a few hours or require a return visit after repairs are complete.
Historic properties and homes in regulated communities may have architectural restrictions that affect awning design and placement. Experienced installers work within these constraints, suggesting alternative mounting methods or style modifications that meet both regulations and your functional needs. Properties requiring Commercial Shade Solutions face additional code requirements around accessibility and fire safety.
Post-Installation Care and Break-In Period
Your new awning needs a short break-in period as components settle and fabrics adjust to tension. Operate the awning gently for the first week, extending and retracting it once daily to help the fabric seat properly on the roller. Avoid leaving it extended during the first significant wind event while fasteners fully seat in their mounting holes.
Check the mounting area after the first rain to verify that all sealant is performing correctly. A few drops of water near mounting points is normal initially, but continuous leaking indicates a seal that needs attention. Most professional installers include a follow-up inspection in their service, typically scheduled 30 to 60 days after installation to address any settling issues.
Making Your Installation Project Successful
The difference between an awning that performs flawlessly for decades and one that fails within a few years often comes down to installation quality. Proper mounting, precise adjustments, and attention to weather sealing protect your investment and your home. Working with experienced professionals who handle fabrication and installation in-house eliminates the coordination problems that plague projects split between multiple vendors.
Awning “R” Us has refined the awning installation process over three generations of family ownership, serving Maryland homeowners with the same care we bring to our own properties. If you’re ready to add functional shade to your outdoor space, our team handles every detail from your first consultation through final setup and beyond. Call +14107397544 to schedule your free on-site evaluation and receive a detailed quote based on your specific property and needs.