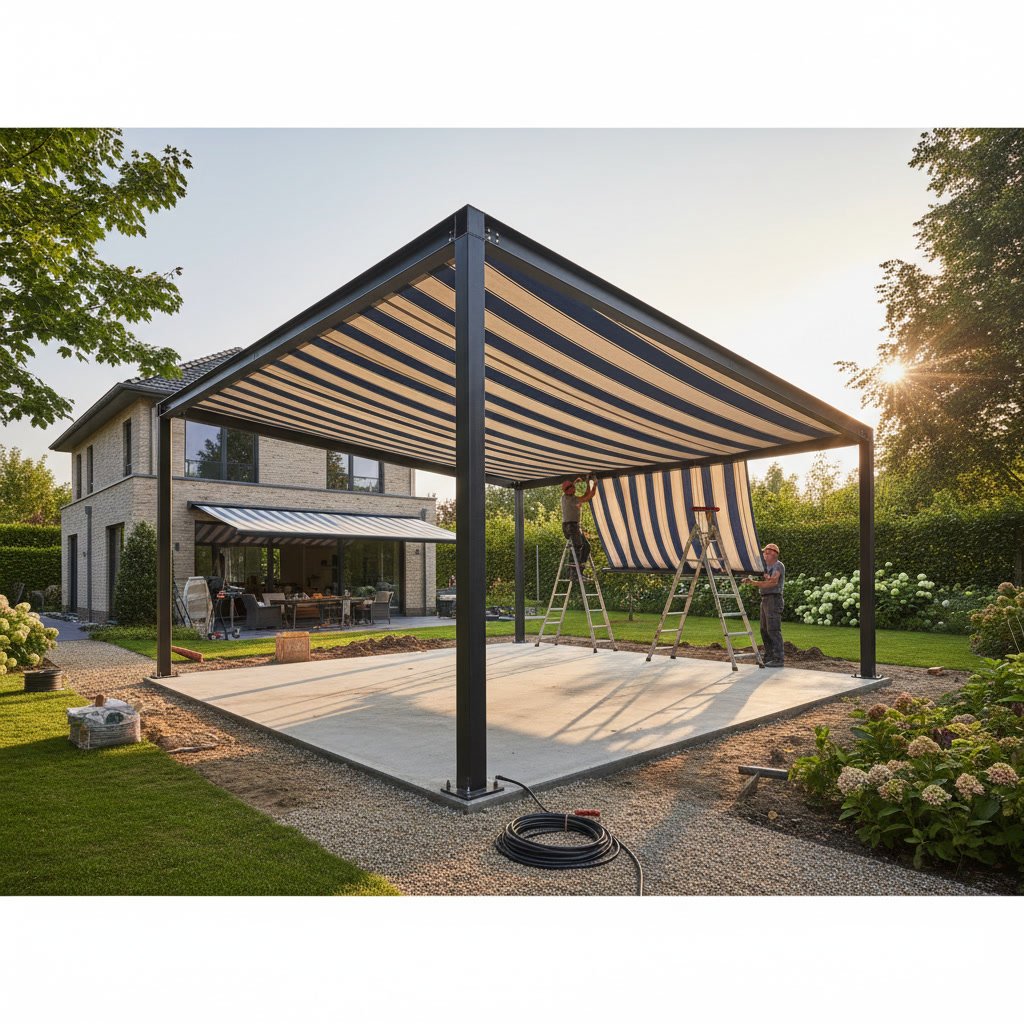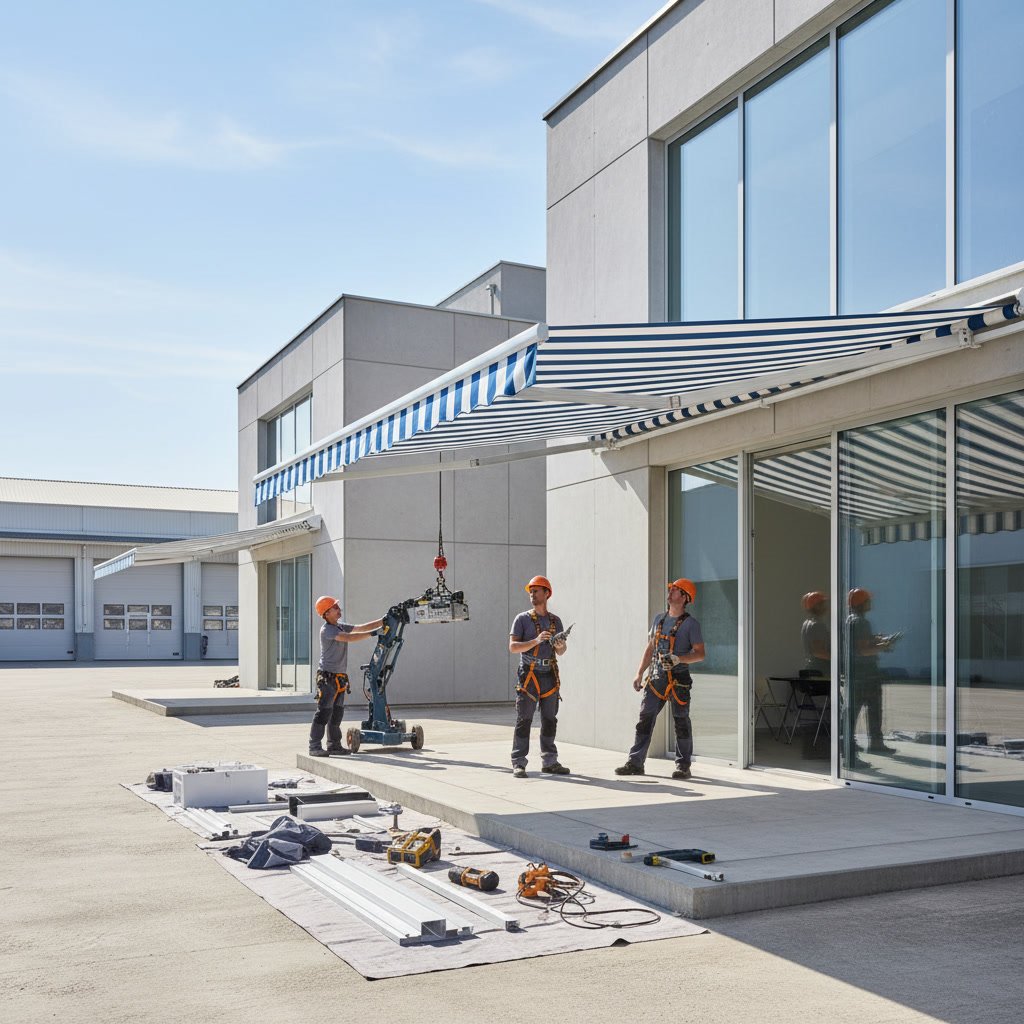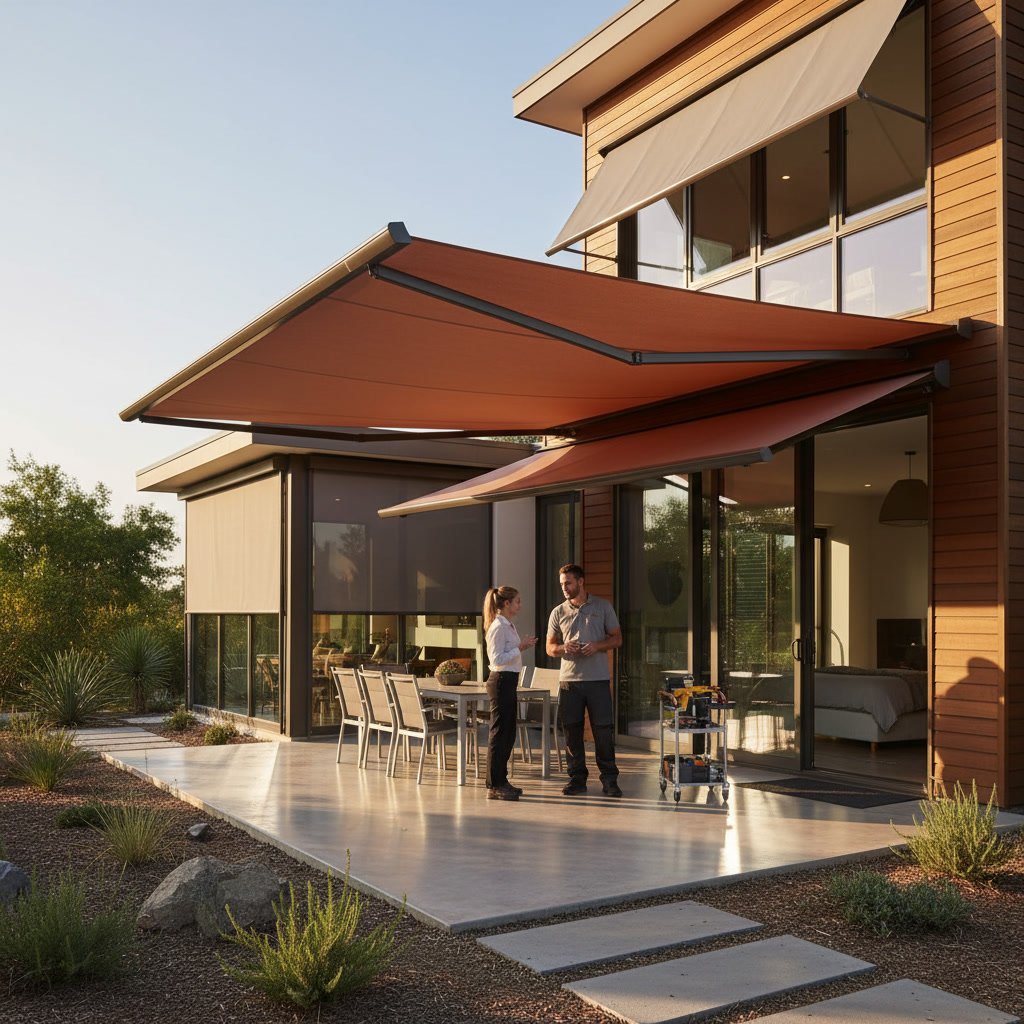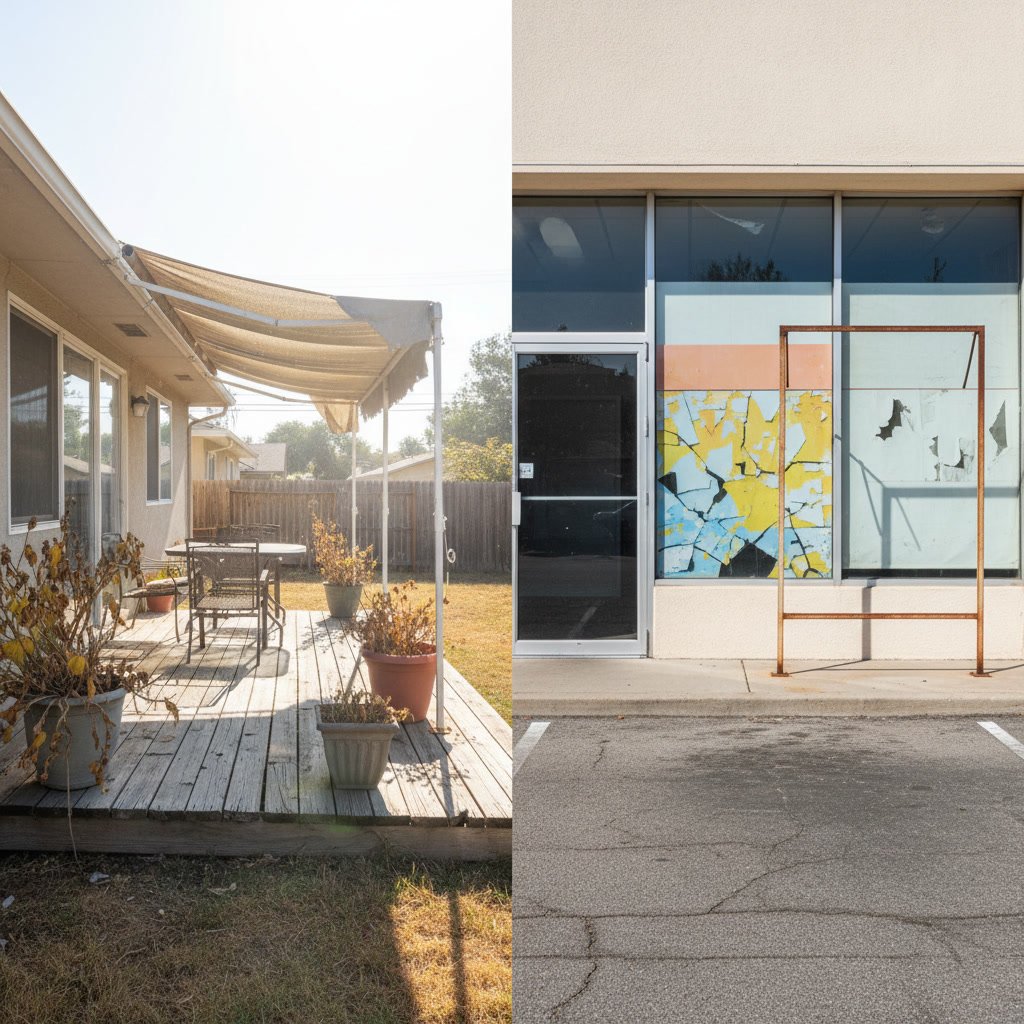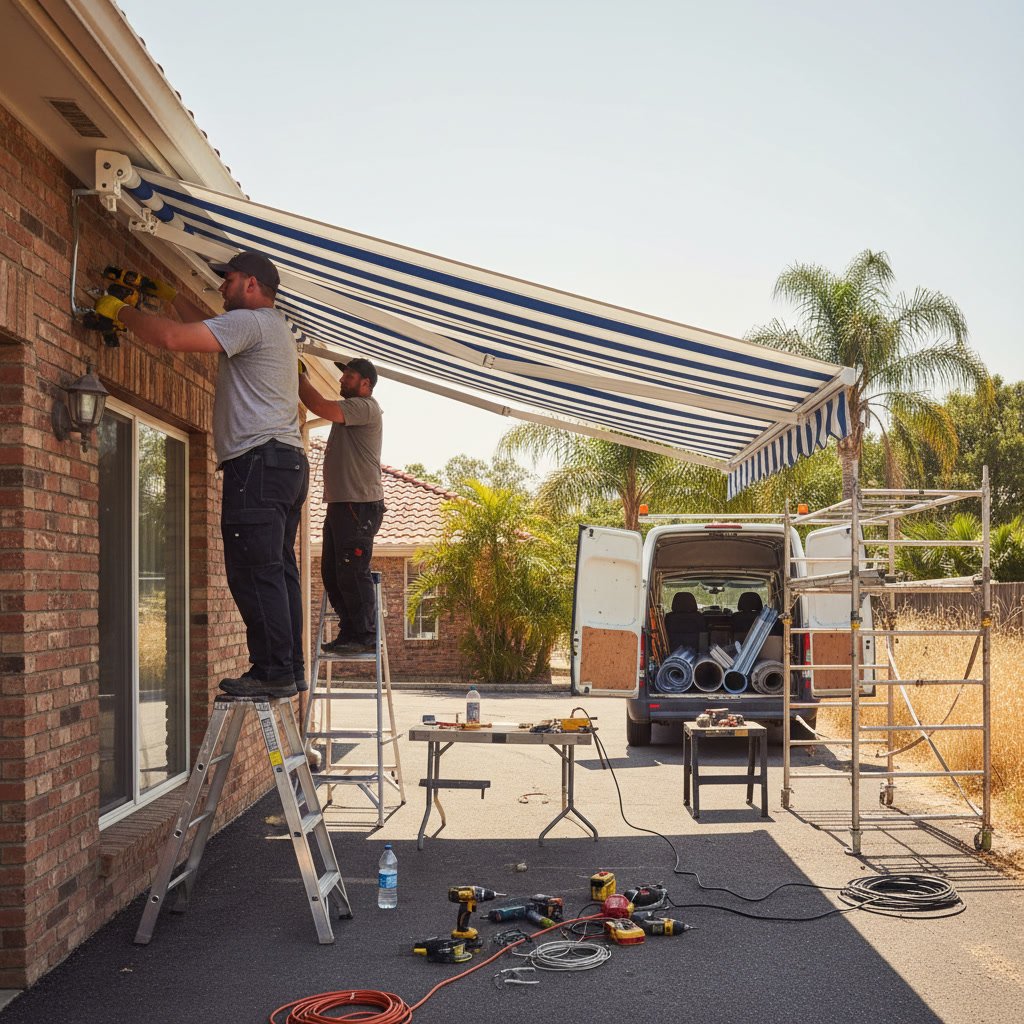
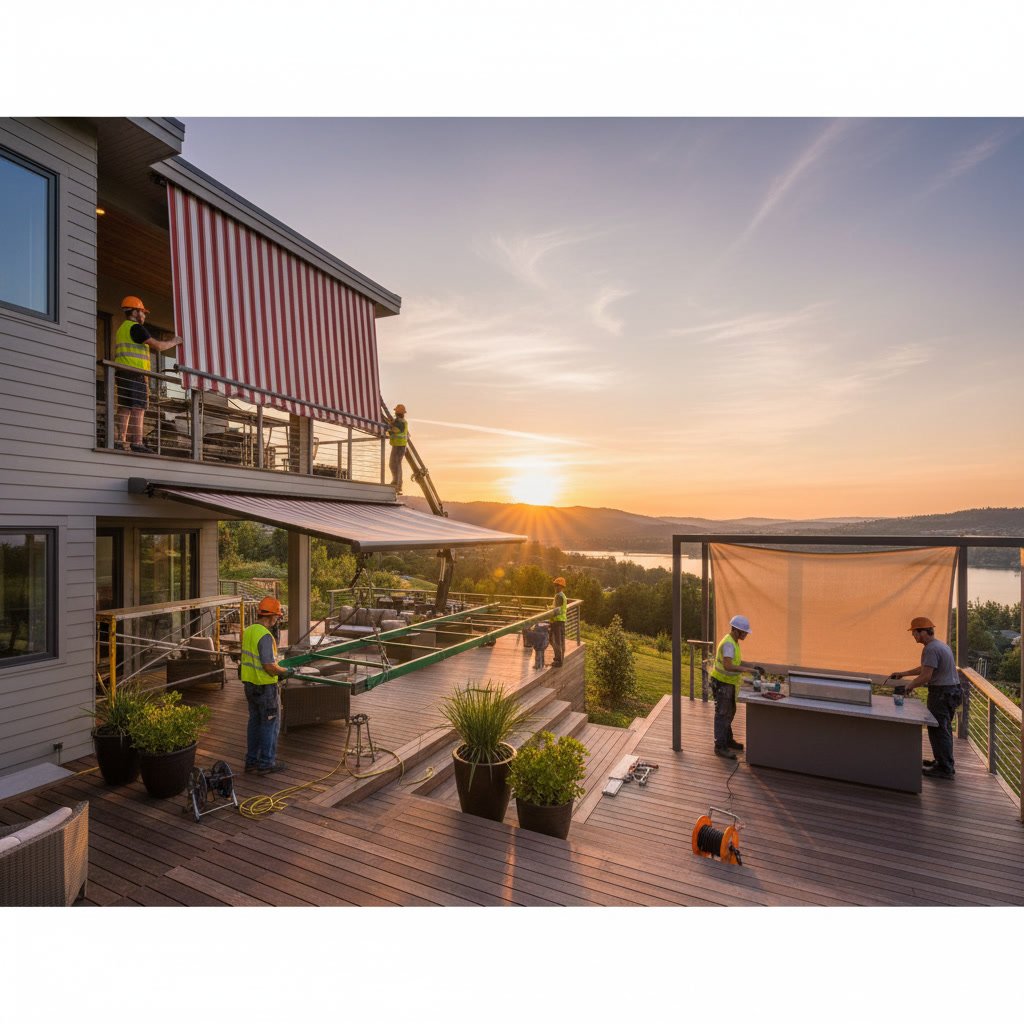
A multiple awning installation involves more planning and coordination than a single-unit setup, especially when covering large decks, wraparound patios, or multi-zone outdoor spaces. The installer must account for consistent alignment, synchronized operation, structural load distribution, and aesthetic harmony across all units. Most professional installations for two or more awnings on a single property take one to two days, depending on mounting complexity and whether the structures are adjacent or separated.
Why Homeowners Choose More Than One Awning
Large outdoor living areas often require multiple coverage zones to provide effective shade throughout the day. A single awning rarely covers an L-shaped patio or a deck that wraps around two sides of a home. Installing two or three retractable units allows you to control sun exposure as it moves, keeping different seating areas, dining zones, and entryways protected without one oversized structure that blocks views or requires heavy-duty mounting.
Some homeowners add awnings to both a front porch and a back deck, or install units over sliding glass doors on different exterior walls. This approach creates consistent curb appeal while addressing unique exposure challenges on each side of the property. Residential shade solutions tailored to multiple elevations can reduce interior heat gain and protect outdoor furniture in every zone.
The Initial Site Visit and Measurement Process
Before any installation begins, a technician visits your property to measure each proposed awning location, assess mounting surfaces, check for obstructions like gutters or downspouts, and confirm electrical access if motorized operation is planned. During a multiple awning installation, this step becomes more involved because the installer must ensure that all units align visually and that their projection depths do not interfere with one another or with traffic flow.
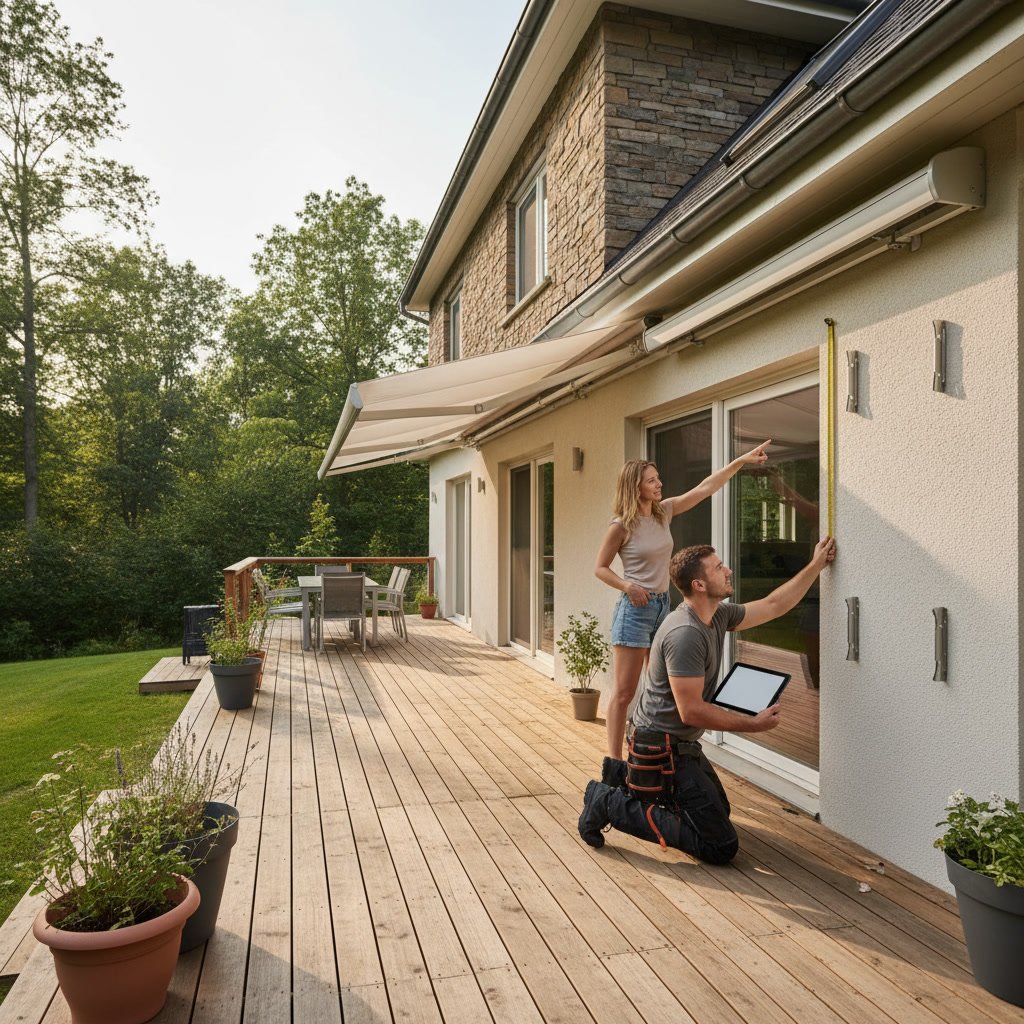
The technician records the width and projection of each area, notes the slope of the roofline or fascia, and photographs the mounting surfaces. If your deck or patio includes posts, railings, or built-in planters, the installer documents these features to avoid conflicts. For properties in coastal or windy areas, the team may also evaluate exposure to prevailing winds and recommend motor upgrades or wind sensors that retract all awnings automatically during storms.
Ordering Factory-Direct Awnings for Your Project
Once measurements are confirmed, the team orders awnings built to your exact specifications. Factory-direct purchasing eliminates the retail markup common at big-box stores, which is how established providers keep costs about 20 percent lower than chain competitors. Each awning frame is fabricated to match your chosen width, projection, fabric color, and valance style, ensuring uniformity across all units.
Lead times for custom orders typically range from two to four weeks, though standard sizes may ship sooner. If you are installing three or more awnings, the manufacturer often ships them on the same pallet to reduce freight costs and ensure they arrive together. This synchronized delivery is critical for scheduling a single installation appointment rather than multiple truck rolls.
Preparing Your Deck or Patio Before Install Day on Kent Island
Before the crew arrives, clear furniture, grills, and planters from the areas directly beneath each planned awning. The installers need unobstructed access to the mounting wall and enough room to stage tools, ladders, and awning components. If your deck has a pergola or overhead lighting, let the installer know during the site visit so they can plan mounting height accordingly.
For homes on Kent Island and the surrounding Chesapeake Bay area, it is also wise to check local permits. Most residential awning projects do not require permits, but properties in historic districts or homeowner associations may have design review requirements. A reputable installer will confirm permit needs and handle any required paperwork on your behalf.
Step-by-Step Walkthrough of Installation Day
The installation crew typically arrives in the morning and begins by unloading all awning components and staging them near their final locations. They verify that each unit matches the order specifications and inspect mounting surfaces for rot, loose siding, or insufficient backing. If the fascia or wall cannot support the awning’s weight, they install additional blocking or through-bolt into the home’s structural framing.
Next, the team marks mounting points for the brackets, ensuring that each awning sits level and that adjacent units align horizontally. This step is especially important when installing two awnings side by side on the same wall, because even a quarter-inch height difference becomes visually obvious once the fabric is extended. The crew uses laser levels and chalk lines to maintain consistent alignment across all units.
After drilling pilot holes and securing the mounting brackets, the installers attach the roller tube and awning arms to the brackets. They test the manual crank or motor to confirm smooth operation, then make final adjustments to tension and pitch. For motorized awnings, the electrician runs low-voltage wiring to a wall switch or wireless remote receiver, and programs any wind or sun sensors.
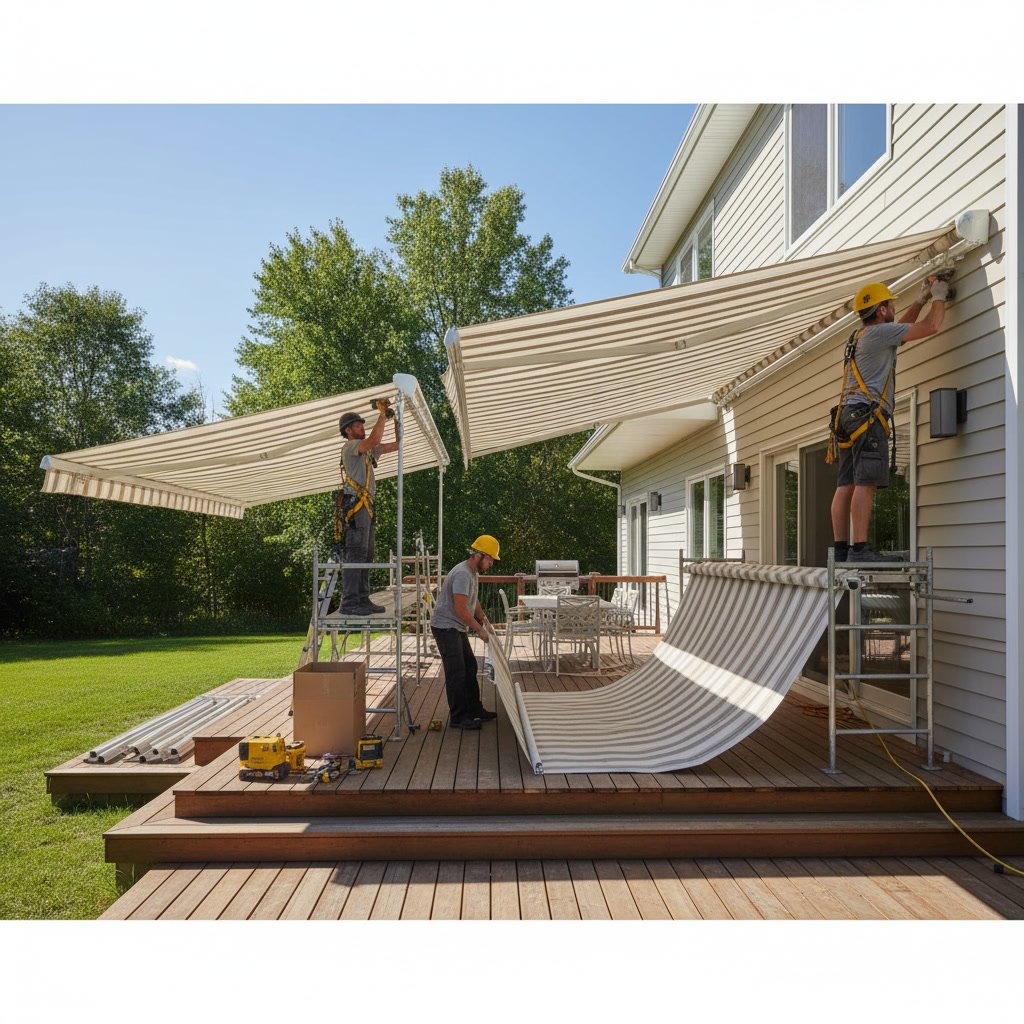
Once all units are mounted and operational, the crew extends each awning fully to check for fabric wrinkles, arm alignment, and projection accuracy. They adjust the pitch so rainwater runs off the front edge rather than pooling on the fabric. Finally, they clean up all packaging, inspect the work area for debris, and walk you through the operation and care of each awning.
Coordinating Motorized Controls Across Multiple Awnings
When you install two or more motorized awnings, you have the option to control them individually or link them to a single switch or remote. Individual control offers flexibility, letting you extend only the units you need at any given time. A grouped system simplifies operation but requires all awnings to share the same motor type and compatible receivers.
Some homeowners integrate awnings into a home automation system, using timers or smartphone apps to retract all units at sunset or when wind speeds exceed a safe threshold. Wind sensors are particularly valuable for multiple awning installations because they protect your investment even when you are away from home. The sensors communicate with all linked motors and trigger automatic retraction before gusts can damage the fabric or frames.
Matching Fabric Colors and Styles for Visual Consistency
Choosing the same fabric pattern and color for all awnings creates a cohesive look that enhances your home’s exterior design. If you install awnings on different elevations, such as a front porch and a back deck, you may prefer complementary colors rather than identical fabrics to distinguish each outdoor zone while maintaining visual harmony.
Most awning fabrics carry a five- to ten-year warranty against fading, mildew, and tearing, and factory-direct suppliers offer the widest selection of performance-grade materials. Acrylic solution-dyed fabrics resist UV degradation better than printed polyester, and woven patterns hide minor dirt better than solid colors. When ordering multiple units, request fabric swatches to preview how each option looks in your home’s natural light.
How Multiple Awnings Affect Installation Time and Cost
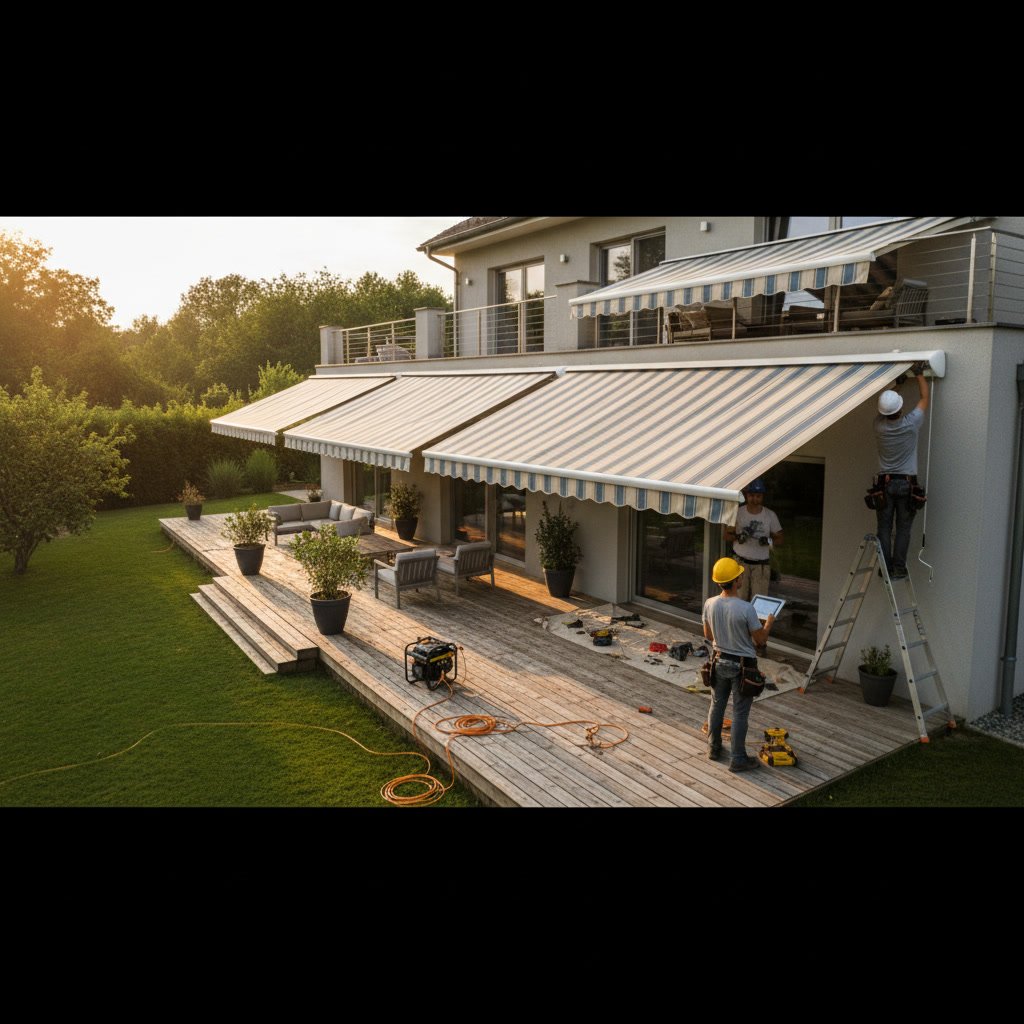
Installing two awnings on the same wall typically adds only an hour or two to the appointment compared to a single-unit setup, because the crew is already on-site with tools and equipment staged. When awnings are located on opposite sides of the home or require different mounting techniques, the project may extend into a second day.
Pricing for multiple awnings often includes a volume discount, especially when you purchase from a factory-direct provider. The per-unit labor cost decreases as the number of awnings increases, because the installer completes many steps in parallel. For a detailed breakdown of pricing factors, review our guide on awning installation costs in Maryland.
Post-Installation Support and Ongoing Maintenance
After your multiple awning installation is complete, the installer reviews proper operation, cleaning recommendations, and any warranty details. Most professional teams offer a labor guarantee covering installation workmanship for one to two years, in addition to the manufacturer’s fabric warranty. Keep your installation paperwork and warranty certificates in a safe place, along with the contact information for service requests.
Routine maintenance for multiple awnings is straightforward. Brush off leaves and debris every few weeks, hose down the fabric with mild soap and water once or twice a season, and retract the awnings during storms or when you will be away for extended periods. Motorized units may need battery replacement in the remote or occasional lubrication of the arms, but these tasks take only a few minutes per awning. If you encounter mechanical issues or fabric damage, professional maintenance and repairs can restore full function and extend the life of your investment.
Common Challenges and How Professionals Solve Them
One frequent challenge during multiple awning installations is working around existing roof lines, gutters, or architectural features that limit mounting height or require custom bracket spacing. Experienced installers carry extension brackets, spacer kits, and through-bolt hardware to adapt to these conditions without compromising structural integrity.
Another issue arises when adjacent awnings must share a common support beam or fascia board. If the board is not wide enough to accommodate two sets of brackets side by side, the installer may need to sister a second board behind the fascia or use a continuous mounting rail that distributes the load across a broader area. These solutions add minimal cost but require expertise to execute safely and maintain the home’s appearance.
For homeowners adding awnings to older homes with wood siding or trim that shows signs of rot, the installer will replace or reinforce damaged sections before mounting the brackets. Skipping this step can lead to sagging awnings or, in severe cases, bracket failure. A thorough pre-installation inspection catches these issues early and prevents callbacks.
Making the Most of Your New Outdoor Shade
Once your awnings are installed and operational, you can enjoy extended hours outdoors even during peak sun. Multiple units give you precise control over which areas stay cool, letting you host gatherings in one zone while keeping another shaded for pets or children. Retractable designs mean you can still enjoy full sun when desired, then extend coverage during the hottest part of the afternoon.
Properly sized and positioned awnings can also lower indoor cooling costs by blocking direct sunlight before it heats windows and walls. This benefit compounds when you install units on multiple exposures, especially south- and west-facing walls that receive the most intense afternoon rays. For guidance on sizing and placement, our article on awning size and placement offers practical recommendations.
Getting Your Project Started With a Trusted Local Team
A multiple awning installation delivers lasting value when handled by a team with the right tools, experience, and commitment to quality. The process involves careful planning, precise execution, and attention to details like alignment, tension, and electrical integration. Homeowners who choose factory-direct purchasing benefit from lower prices, wider fabric selections, and streamlined ordering that keeps all units on the same timeline.
Awning “R” Us has served Maryland families for over 40 years, bringing three generations of expertise to every deck and patio project. If you are ready to explore shade options for your outdoor spaces, reach out to discuss your layout, review fabric samples, and schedule a site visit. Call +14107397544 to speak with a member of the team and take the first step toward a cooler, more comfortable outdoor living area.