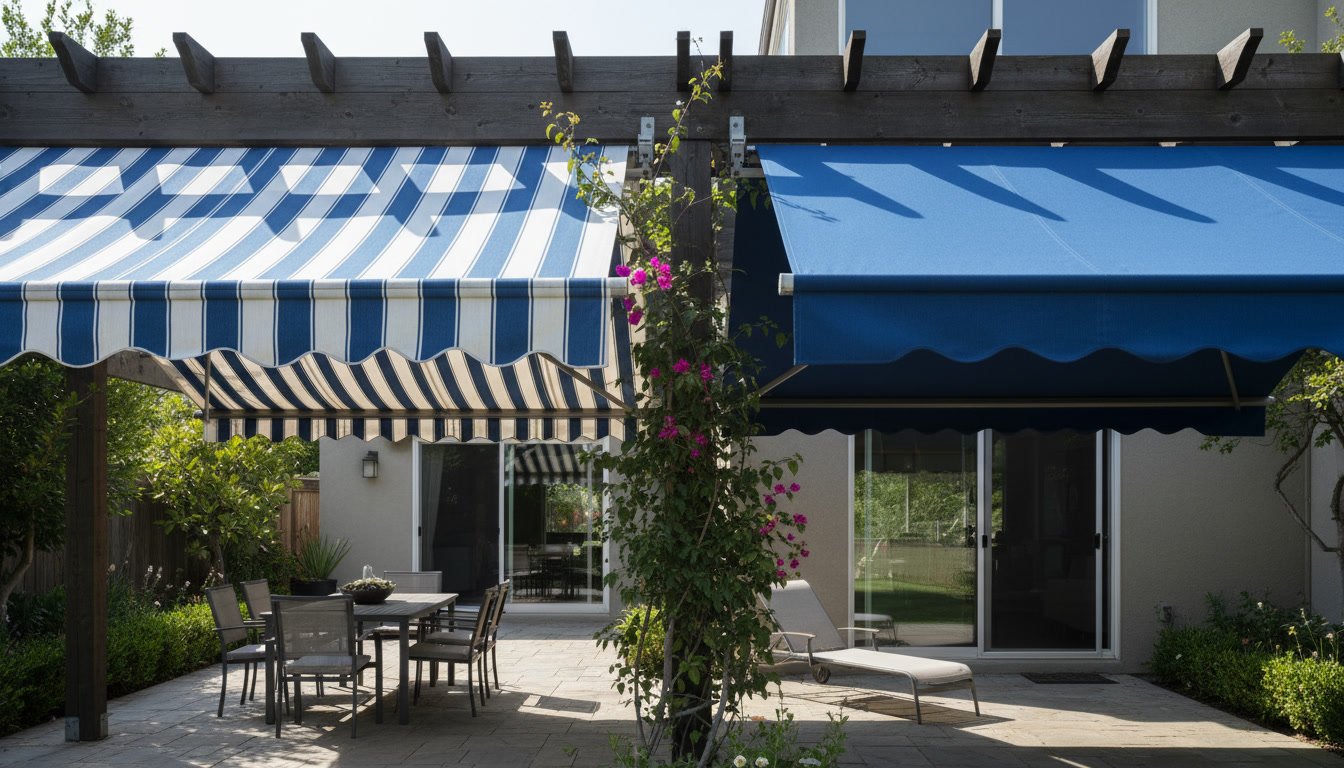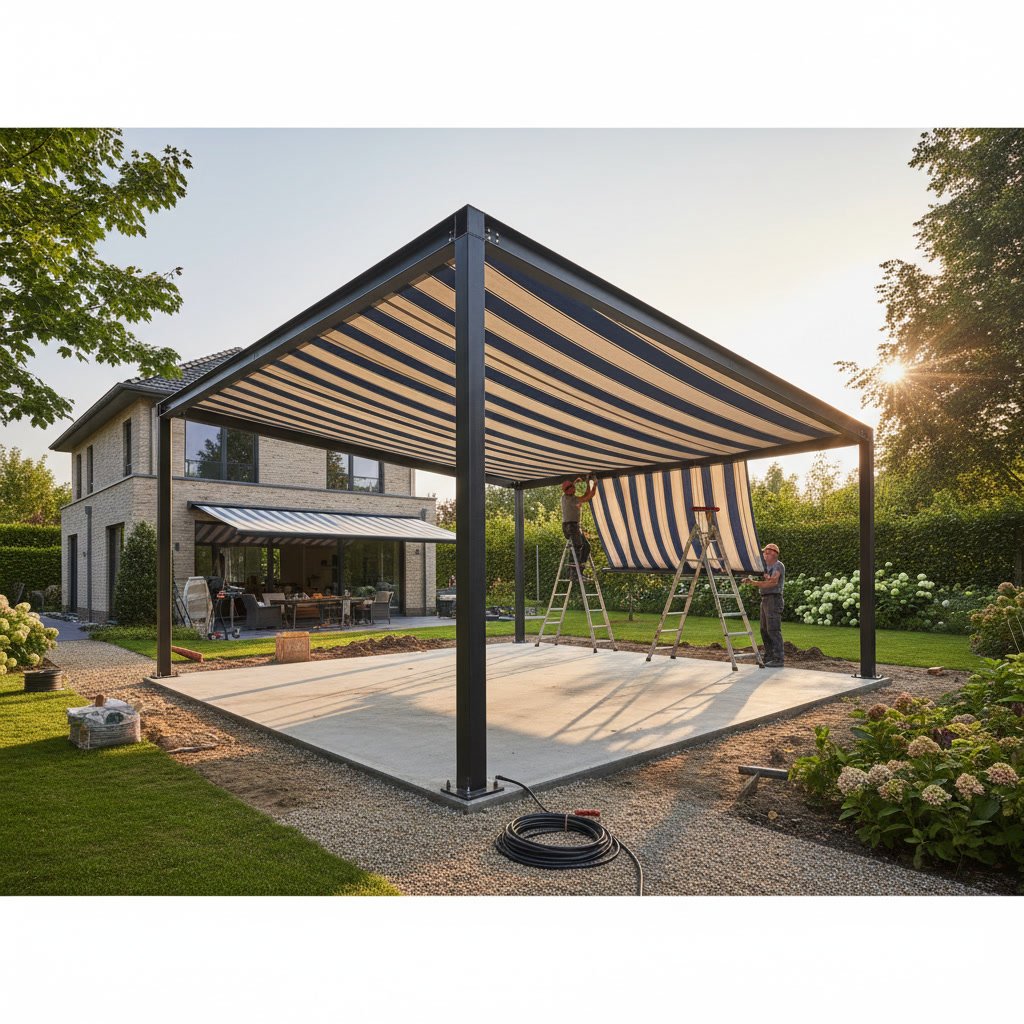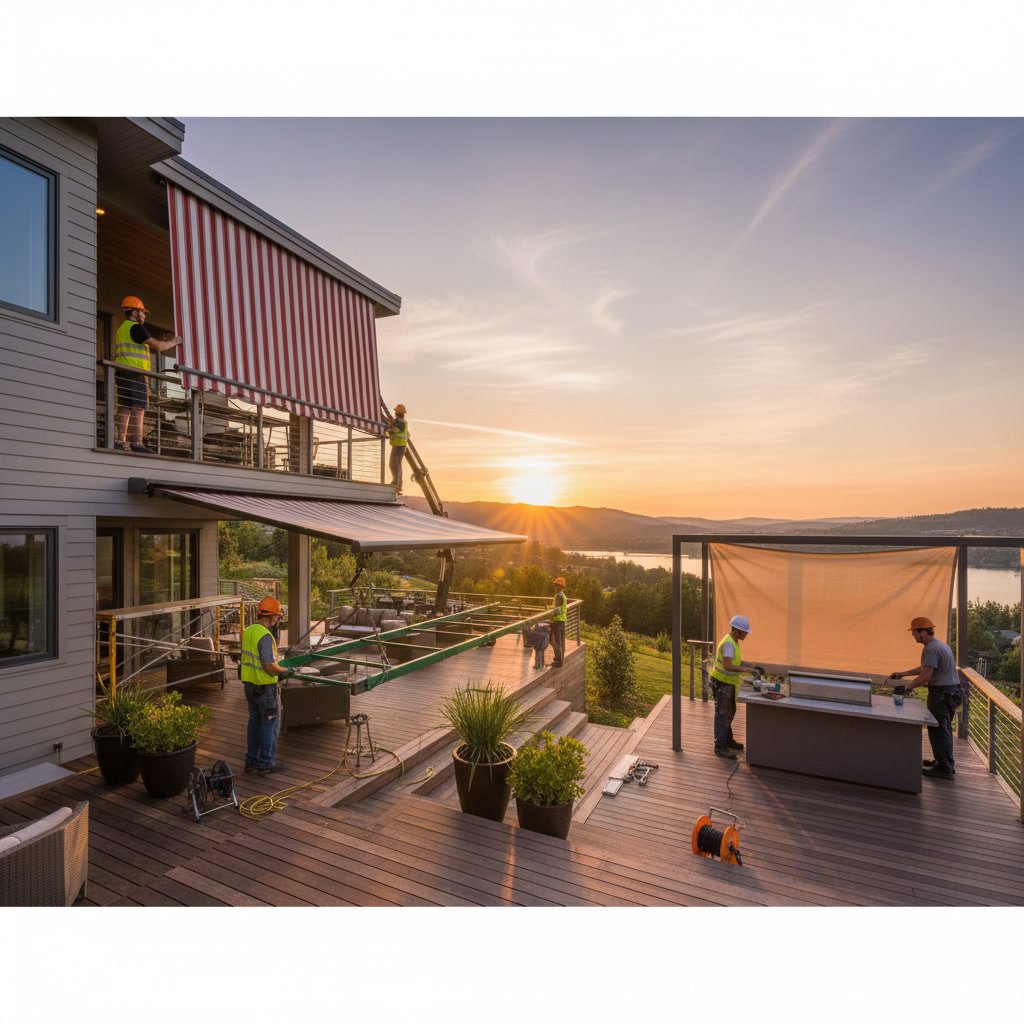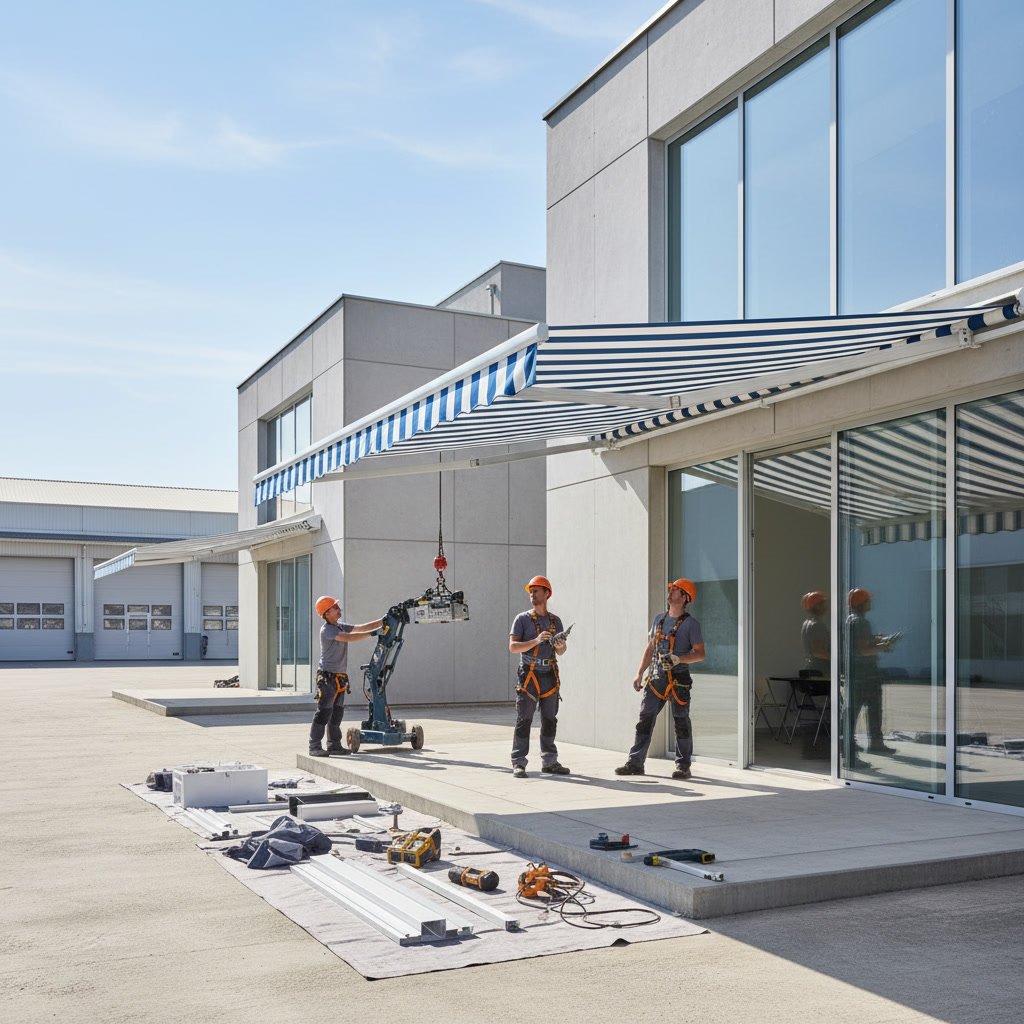
The awning pitch angle determines how water drains, how much shade the fabric provides, and whether the mounting hardware can safely support the frame on a sloped surface. When installing a retractable awning under a sloped ceiling or porch roof, the existing slope either works with your desired pitch or requires custom bracket solutions to achieve proper clearance and drainage. Most retractable awnings perform best with a pitch between 5 and 20 degrees, but a sloped mounting surface changes how installers calculate and achieve that angle.
Why Mounting Surface Slope Matters for Retractable Awnings
A flat wall or ceiling makes it straightforward to set the awning pitch using standard brackets. When the mounting surface itself has a slope, that existing angle becomes part of the equation. If your porch ceiling slopes down at 10 degrees and you mount the awning parallel to that surface, the fabric will already have a 10-degree pitch before you adjust the arms. This can be an advantage or a problem depending on the direction of the slope and your coverage goals.
Installers must account for the ceiling slope when choosing bracket types and calculating the final extended pitch. A surface sloping away from the house might add to your desired pitch, while a surface sloping toward the house could reduce it or create a reverse angle that traps water instead of shedding it.
Understanding Standard Pitch Requirements for Drainage
Water pooling on awning fabric creates weight, stress, and potential tearing. Most fabric awnings need at least a 5-degree pitch to allow rainwater to run off instead of collecting in the center. A pitch between 10 and 15 degrees handles moderate rain without issue, while steeper pitches up to 20 degrees work well in areas with heavy downpours or if you want faster water clearance.
When the ceiling itself is sloped, you might naturally achieve the minimum drainage angle just by mounting parallel to the surface. However, if the slope runs the wrong direction or the angle is too shallow, you will need angled brackets or spacers to correct the final pitch.
How Sloped Ceilings in Kent Island Homes Affect Bracket Selection
Many older porches and covered patios in Kent Island feature sloped ceilings designed to shed rain away from the house. When you add a retractable awning to this type of structure, the bracket system must compensate for that slope to keep the awning level side-to-side while still achieving the correct front-to-back pitch.
Standard L-brackets work when the ceiling is flat or when the slope runs parallel to the awning’s projection direction. If the ceiling slopes perpendicular to the awning, you will need adjustable brackets or custom shims to level the mounting bar before setting the pitch. Skipping this step results in fabric that hangs unevenly and arms that bind or operate inconsistently.
Calculating the Combined Pitch of Ceiling and Awning
To find the final pitch when mounting on a sloped surface, you add or subtract the ceiling slope from the awning arm adjustment. If your ceiling slopes down at 8 degrees and you set the awning arms to add another 7 degrees, the total pitch will be 15 degrees. If the ceiling slopes up toward the front edge, you subtract that angle instead.
Professional installers use a digital level or inclinometer to measure the ceiling slope in degrees, then calculate the bracket offset needed to reach the target pitch. This step is critical during the sales and installation process because it determines which hardware package you need and whether the structure can support the load at the planned angle.
Bracket Types and Pitch Adjustment Methods
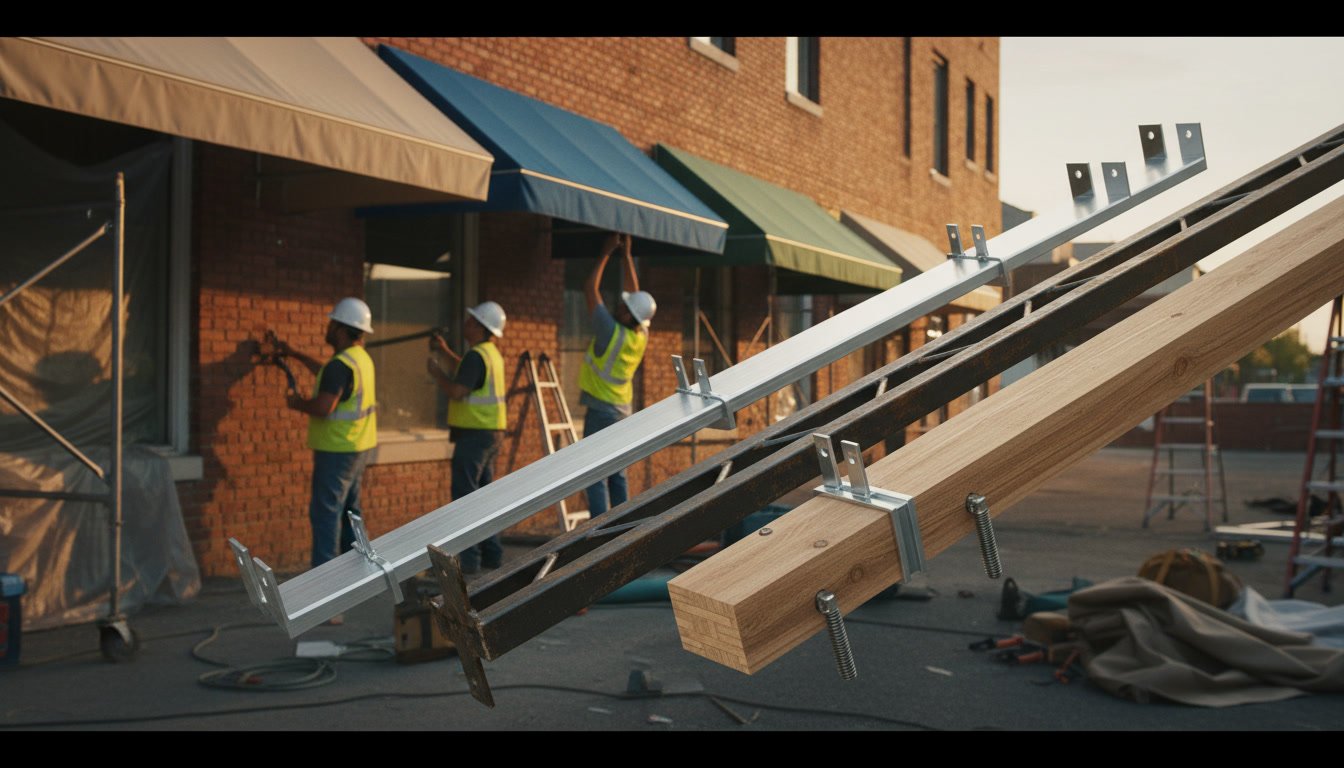
Several bracket designs let installers set or correct pitch on sloped ceilings. Fixed-angle brackets lock the awning at a specific pitch and work well when the ceiling slope already provides most of the angle you need. Adjustable pitch brackets include multiple mounting holes or slots that let you fine-tune the angle in 2- to 5-degree increments after installation.
Spacer blocks or wedge shims fill the gap between a sloped ceiling and the mounting bar, creating a level surface before you install the awning. Some installers fabricate custom aluminum spacers for steep or irregular slopes. Drop-down brackets extend the awning away from the ceiling and allow independent pitch adjustment, which is useful when the ceiling slope conflicts with your desired fabric angle.
Clearance and Headroom Challenges on Sloped Surfaces
A sloped ceiling often limits headroom at one end of the awning. If the ceiling drops as it extends outward, the retracted awning may hang lower on one side, reducing clearance for doors, windows, or foot traffic below. Measuring the lowest point of the slope before ordering the awning ensures you maintain at least 78 to 80 inches of clearance in the retracted position.
Drop-down brackets can add several inches of clearance by lowering the mounting bar, but they also increase wind load and require stronger fasteners. Installers balance the need for headroom against the structural limits of the ceiling joists, especially on older covered porches where wood may have weathered or spacing may not match modern standards.
Structural Load Considerations for Angled Mounting
Every degree of pitch changes how force distributes across the mounting points. A steeper pitch shifts more weight toward the front arm pivots and places greater shear stress on the fasteners. When the ceiling itself is sloped, the direction of that slope either aligns with the awning’s natural load path or works against it.
A ceiling sloping down and away from the house helps the awning shed water and aligns the load with the mounting surface. A ceiling sloping up toward the front creates a leverage effect that pulls harder on the fasteners, requiring deeper anchors or additional brackets. Professional installers check joist direction, spacing, and condition before finalizing bracket placement, especially when the slope adds complexity to the load calculation.
Three Common Sloped Ceiling Scenarios and Solutions
Scenario one involves a porch ceiling that slopes parallel to the house wall, dropping as it extends outward. In this case, mount the awning parallel to the slope and use the ceiling angle as part of your total pitch. Add adjustable arms if you need a steeper final angle.
Scenario two features a ceiling that slopes side-to-side, higher on one end than the other. Here you must level the mounting bar with shims or wedge brackets before installing the awning, then set the desired pitch with arm adjustments. Skipping the leveling step causes the fabric to sag toward the low side.
Scenario three includes a multi-plane or vaulted ceiling with slopes in more than one direction. This situation often requires custom bracket fabrication or a combination of spacers and drop mounts to achieve both level side-to-side alignment and correct front-to-back pitch. These installs take longer and may appear in a higher bracket tier when you review awning installation cost estimates.
How Motorized Systems Respond to Pitch Variations
Motorized retractable awnings rely on balanced arm tension to extend and retract smoothly. When one side of the awning hangs lower due to a sloped ceiling, the motor works harder on the low side and may retract unevenly over time. Leveling the mounting bar before installing the motor bracket prevents this imbalance and extends motor life.
Some premium motorized models include sensors that detect uneven extension and adjust motor speed per side. These systems cost more but handle sloped mounting surfaces with less manual calibration. Standard motors require manual tensioning of the spring arms after installation to compensate for any slope-induced imbalance.
When to Use Custom Fabrication for Extreme Slopes
Ceilings with slopes steeper than 20 degrees or compound angles in multiple directions often exceed the range of off-the-shelf brackets. In these cases, fabricating custom mounting plates or welded bracket assemblies ensures safe attachment and proper pitch. Custom work adds time and material cost, but it is the only reliable solution when standard hardware cannot bridge the gap between the ceiling angle and the required awning pitch.
Installers measure the slope in multiple locations, photograph the structure, and sometimes build a template on-site before fabricating the brackets. This level of detail is common for historic homes, older commercial canopies, and properties with unique architectural features. Awning “R” Us handles these projects in-house, which keeps lead times shorter than ordering from a third-party fabricator.
Getting the Right Setup for Your Sloped Ceiling
Installing a retractable awning on a sloped ceiling requires measuring the existing pitch, calculating the combined angle with the awning adjustment, and choosing brackets that can level the frame or add the needed offset. Water drainage depends on achieving at least a 5-degree pitch, while structural safety depends on anchoring into solid framing and accounting for the load shift caused by the slope. Motorized systems need level mounting to operate smoothly, and extreme slopes may require custom fabrication.
Awning “R” Us brings over 40 years of experience to every residential shade solution, including the complex bracket work that sloped ceilings demand. Our team measures your structure, calculates the correct pitch, and handles fabrication and installation in-house so you get factory-direct pricing without the guesswork. If you are ready to add a retractable awning to a covered porch or sloped patio, reach out at (410) 739-7544 to schedule a site assessment and receive a detailed quote.