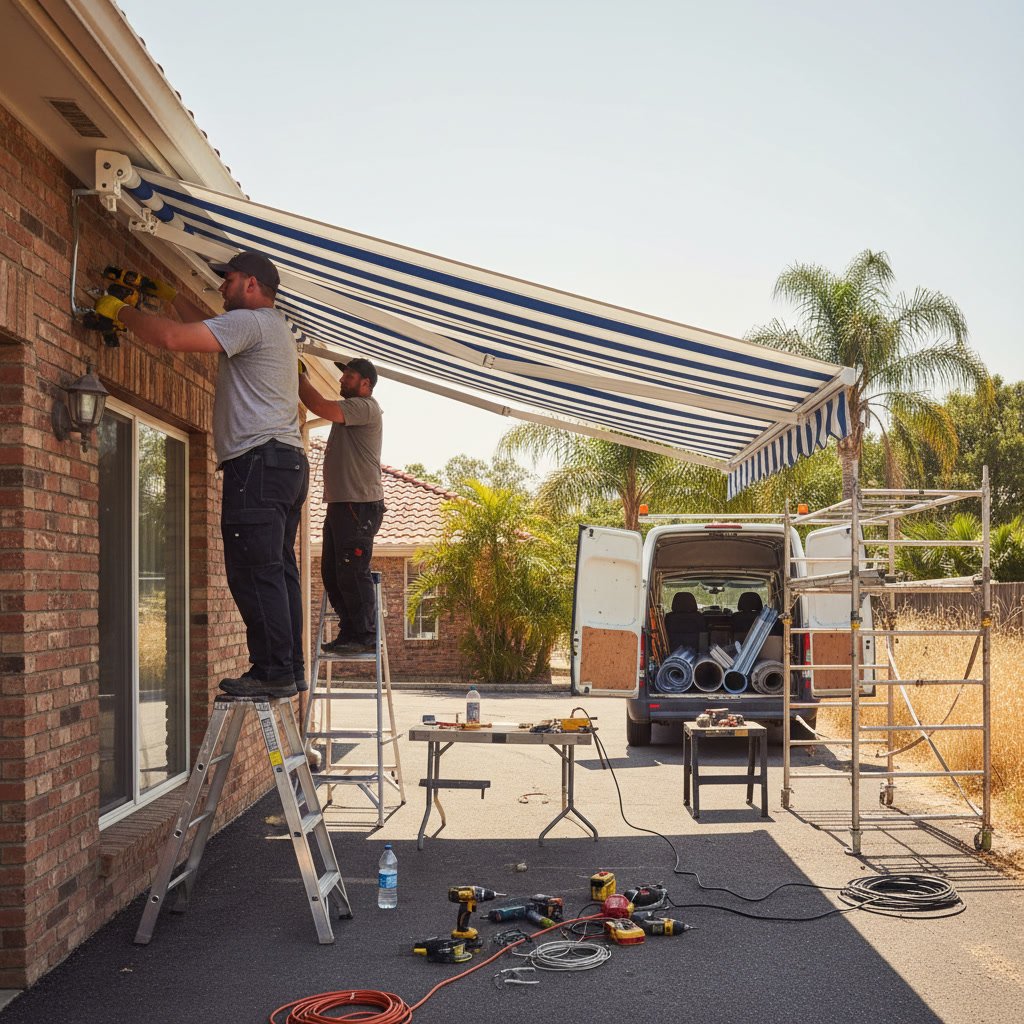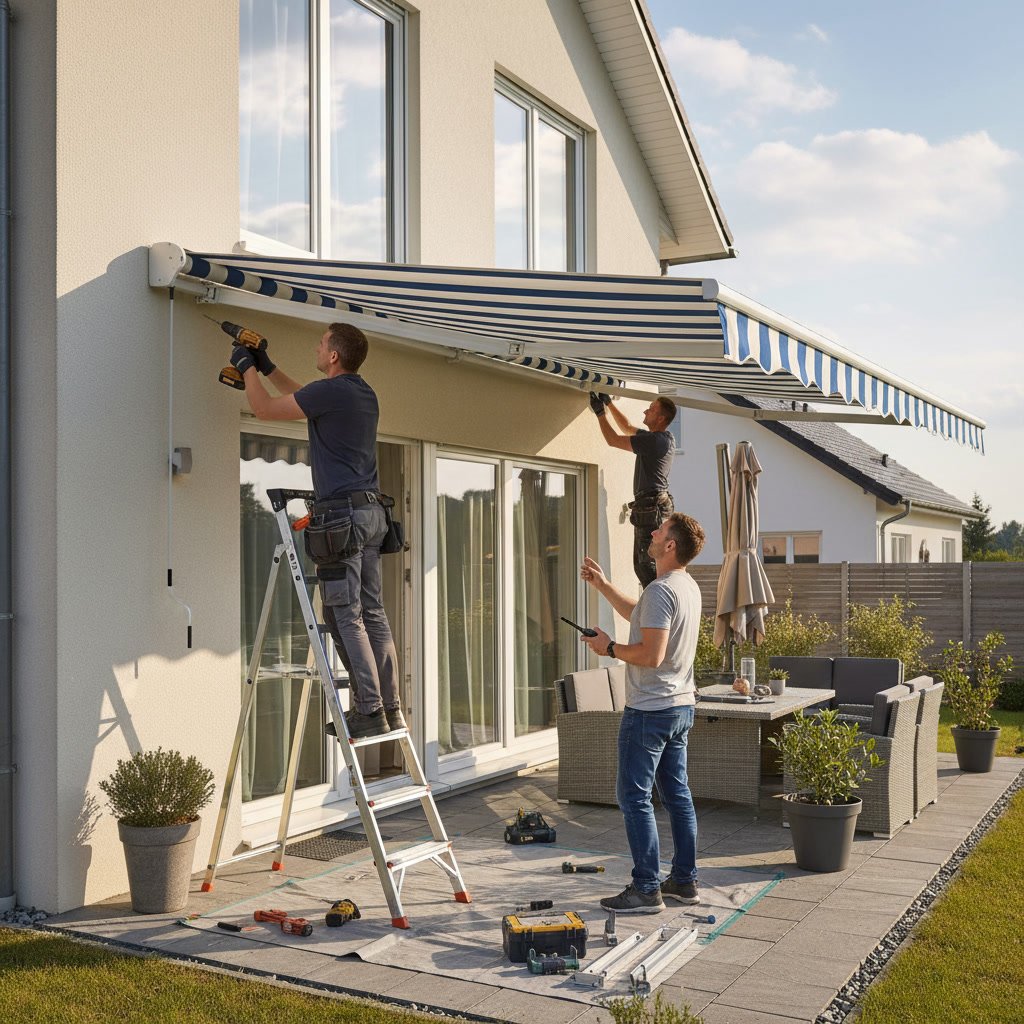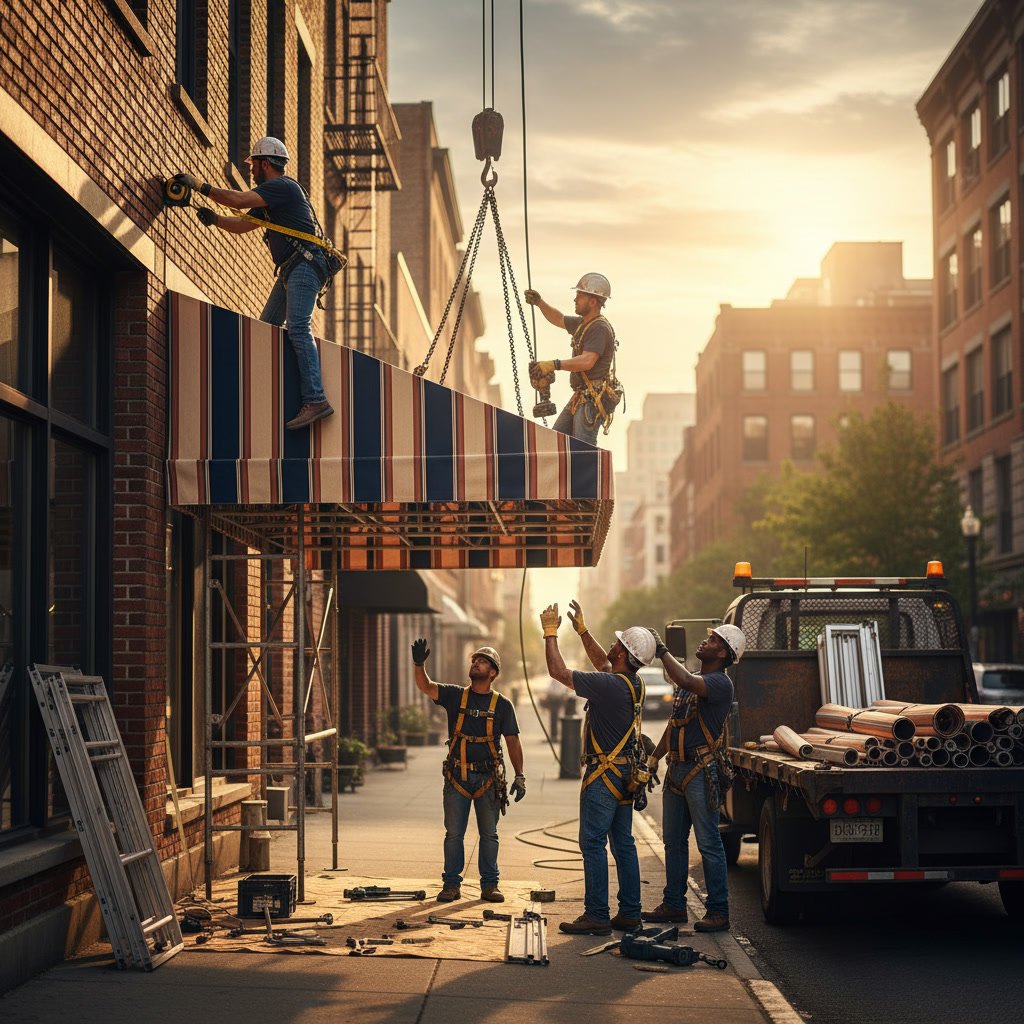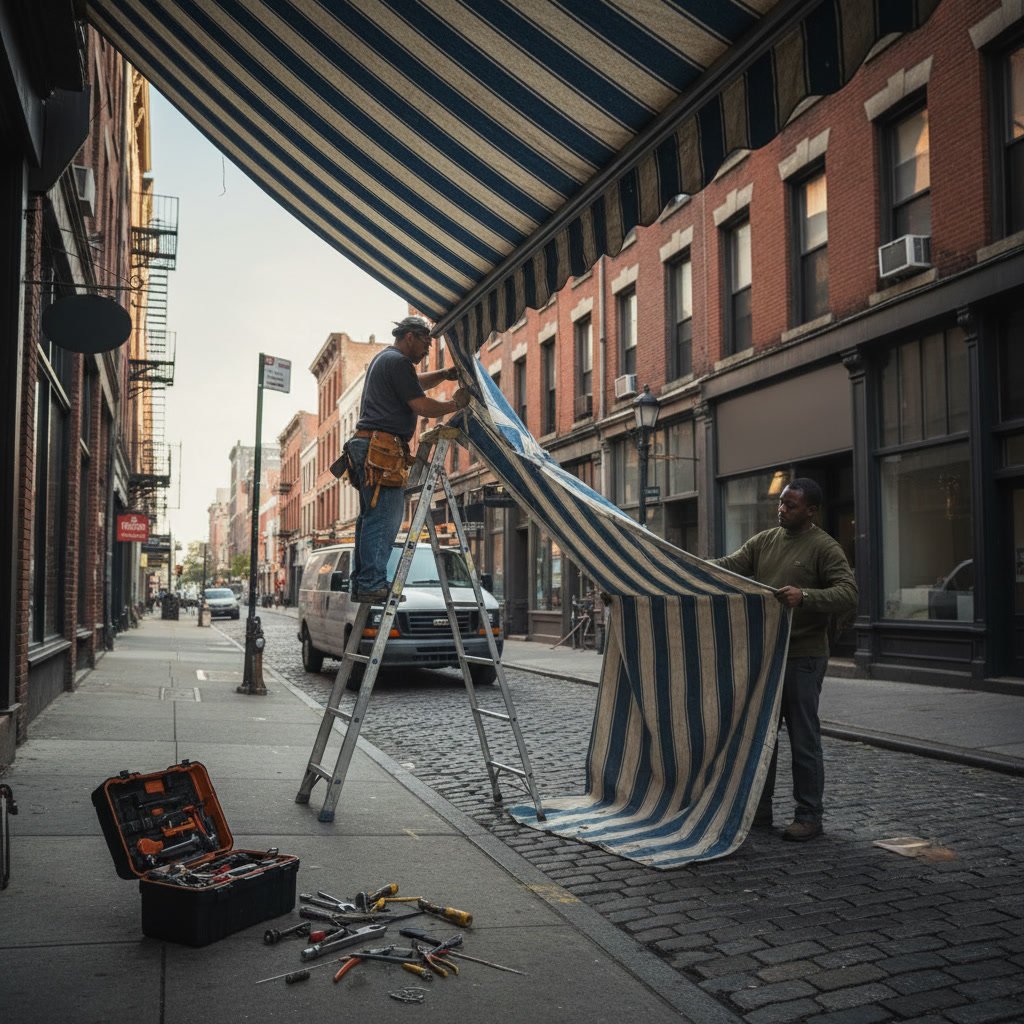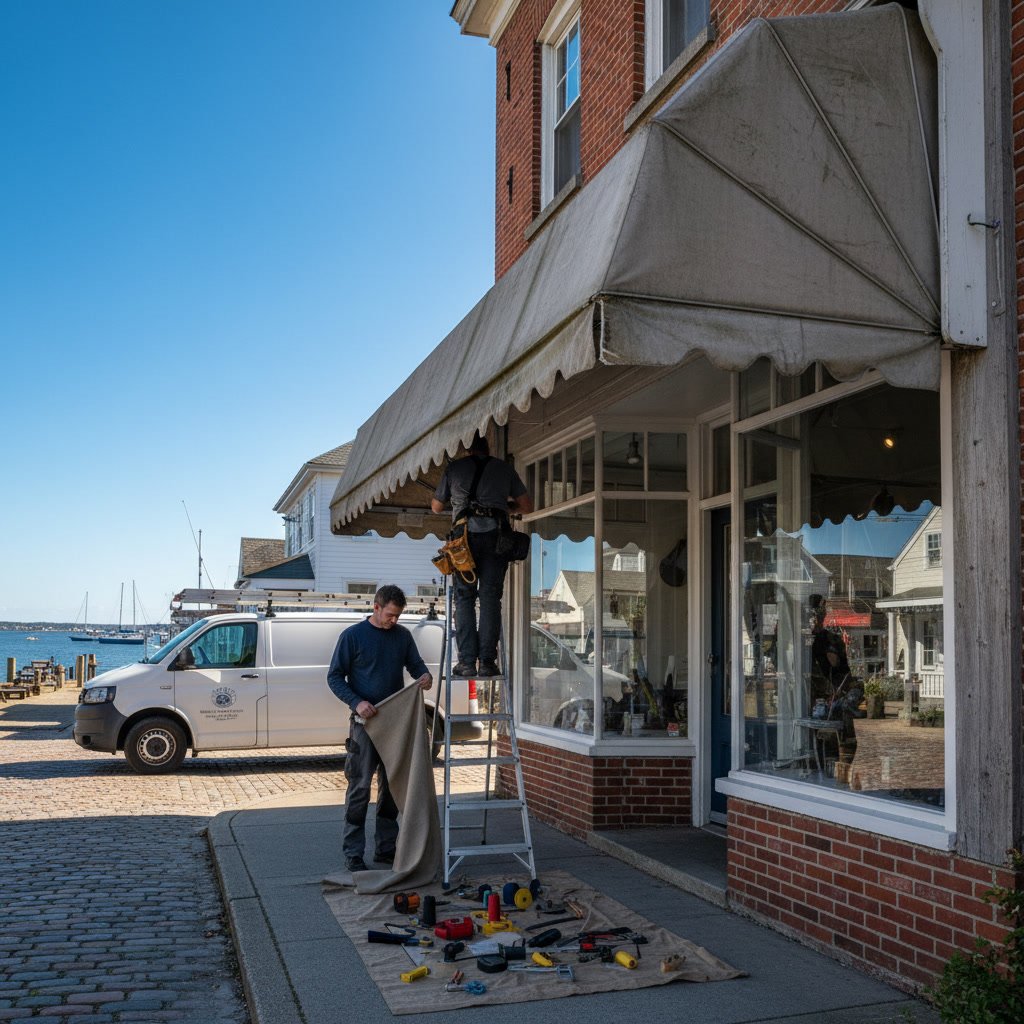
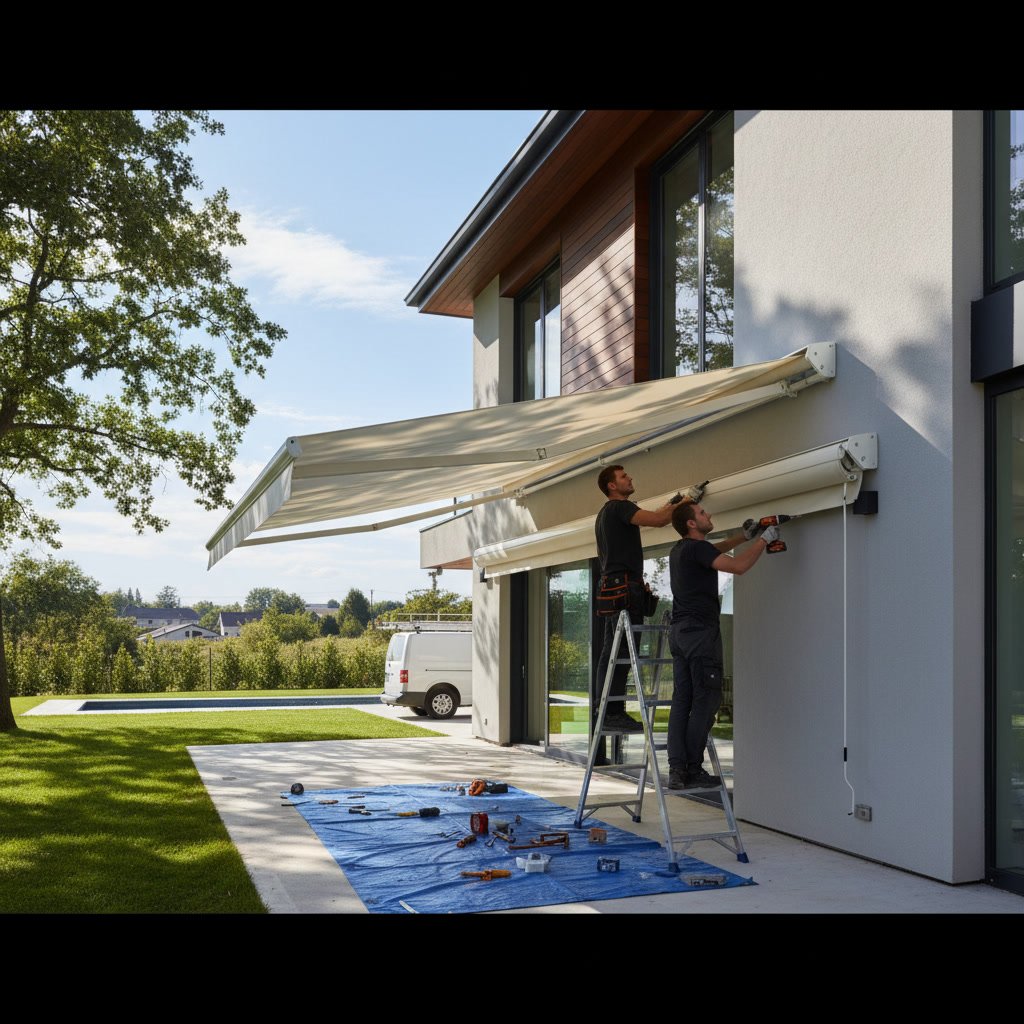
Most retractable awning installations take between two and four hours to complete, depending on the size of your awning, the mounting surface, and whether any custom adjustments are needed. Simple installations on standard wood or vinyl siding move faster, while masonry or stucco surfaces may require additional preparation. The awning installation time is generally shorter than most homeowners expect, especially when handled by experienced professionals.
Why Retractable Awnings Are Popular in Maryland
Maryland homeowners love retractable awnings because they offer flexible shade control without blocking views when not in use. Summer afternoons can push outdoor temperatures into the 90s, and a quality awning reduces that heat by up to 20 degrees on your deck or patio. Retractable models let you enjoy full sun in the morning and cool shade by midday, all with a simple crank or motorized button.
These awnings also protect outdoor furniture from fading and reduce cooling costs by blocking direct sunlight from entering your home through windows and sliding doors. Whether you live near the Chesapeake Bay or farther inland, UV damage and rain can wear down your outdoor spaces quickly without proper coverage.
What Affects How Long Installation Takes
Several factors influence the total time needed to mount and secure your new awning. The size of the unit is the most obvious variable. A 10-foot awning with a standard projection installs faster than a 20-foot model with motorized controls and sensors. Larger awnings require more mounting brackets, additional fasteners, and careful leveling across a wider span.
The mounting surface plays an equally important role. Wood siding and vinyl accept screws easily and allow installers to work quickly. Brick, concrete block, or stucco demand masonry anchors and sometimes pilot drilling, which adds 30 to 60 minutes to the job. If your home has metal siding or requires blocking reinforcement behind the mounting area, expect a bit more time for proper preparation.
Motorization adds another layer of complexity. Manual crank awnings are straightforward to install, while motorized units require electrical connections, switch wiring, or integration with smart home systems. Remote-controlled models with wind and sun sensors need calibration after mounting, which can extend the timeline by 30 to 45 minutes.
Step-by-Step Breakdown of the Installation Process
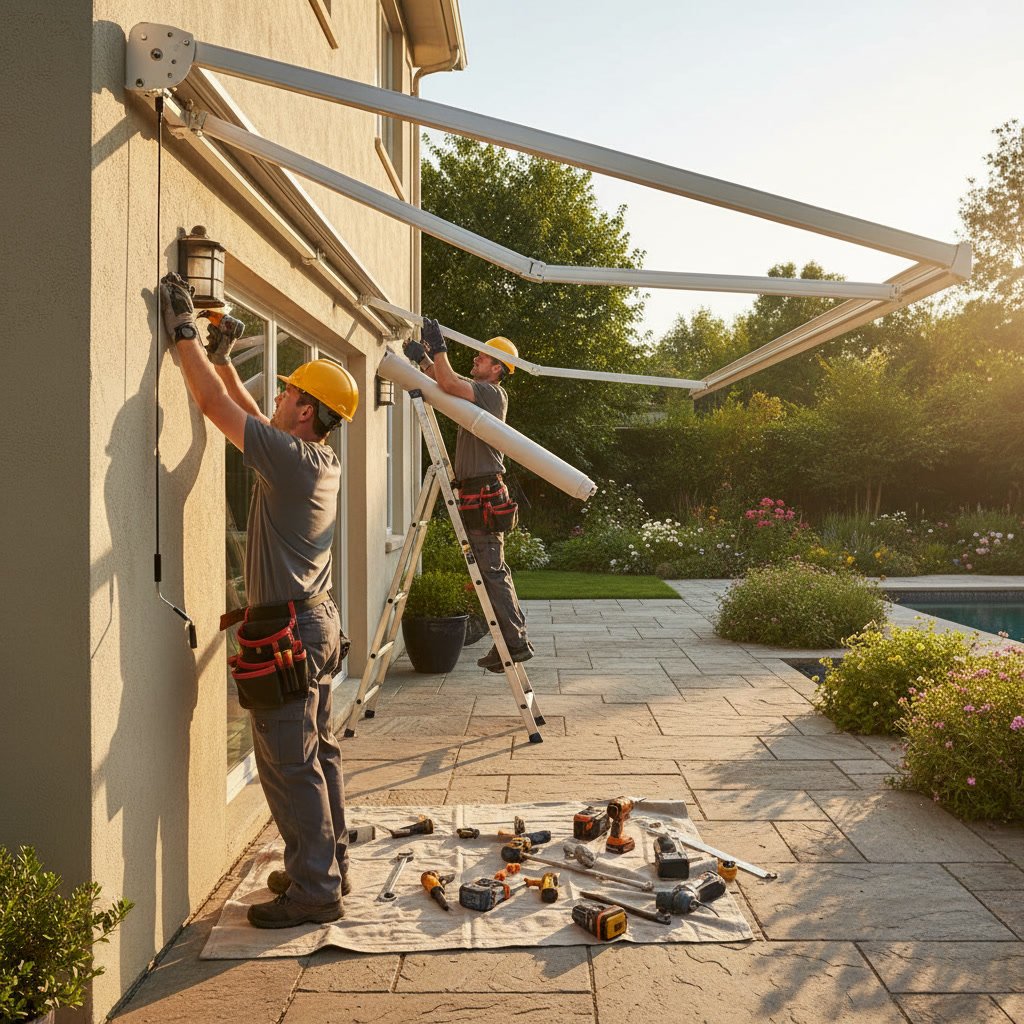
Professional installers follow a specific sequence to ensure your awning mounts securely and operates smoothly. Here’s what happens during a typical appointment:
- Site assessment and measurement verification: The installer confirms the mounting location, checks for obstructions like light fixtures or gutters, and verifies that measurements match the awning dimensions. This step takes about 10 minutes.
- Marking and drilling: Mounting bracket positions are marked with a level to ensure the awning sits perfectly horizontal. Pilot holes are drilled into the mounting surface, whether wood, masonry, or another material. This phase takes 20 to 40 minutes depending on surface type.
- Bracket installation: Heavy-duty mounting brackets are secured with lag bolts or masonry anchors. Proper torque and spacing are critical to handle the awning’s weight and wind load. Expect 15 to 30 minutes for this step.
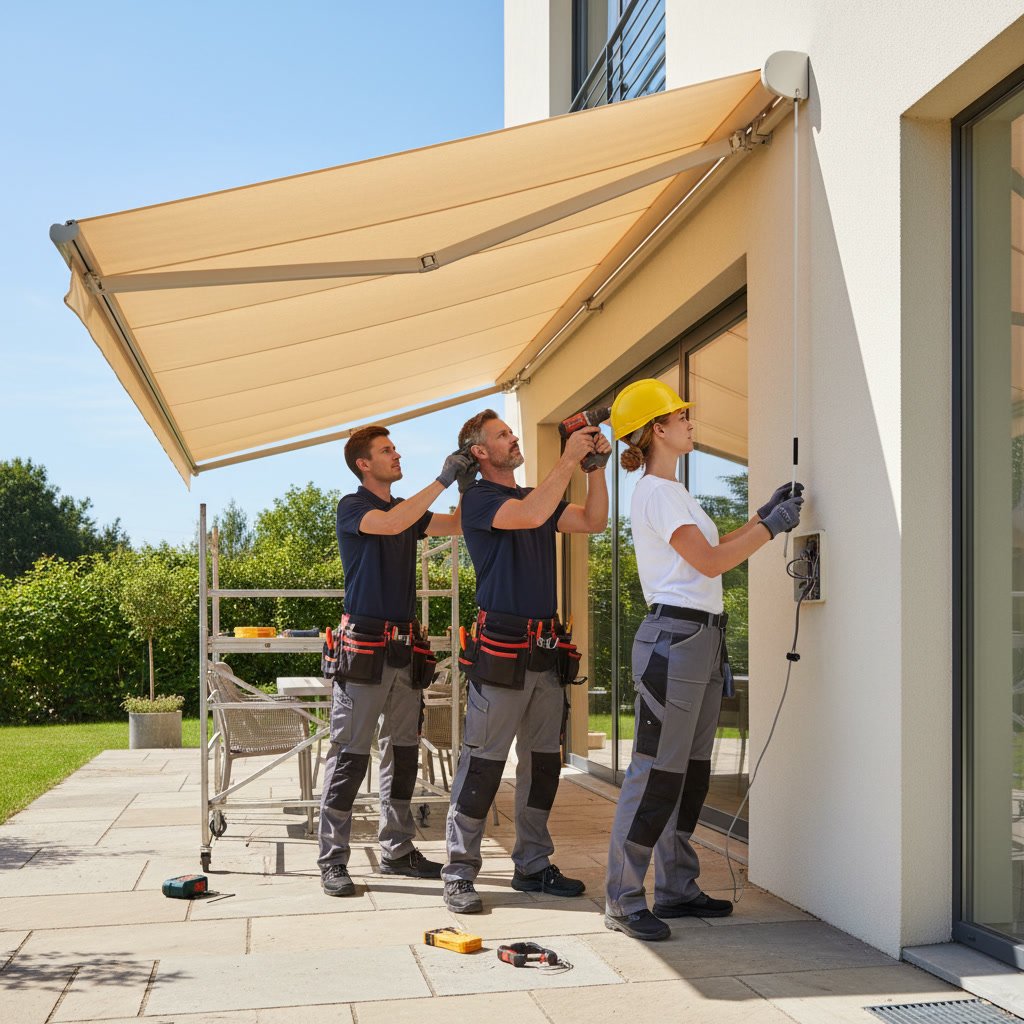
- Awning attachment: The awning assembly is lifted into place and attached to the brackets. This requires at least two people for larger units. Mounting pins or bolts secure the awning to the brackets. This takes 20 to 40 minutes.
- Pitch adjustment and leveling: The installer adjusts the awning’s angle to ensure proper water runoff and even fabric tension. Fine-tuning the pitch takes about 10 minutes.
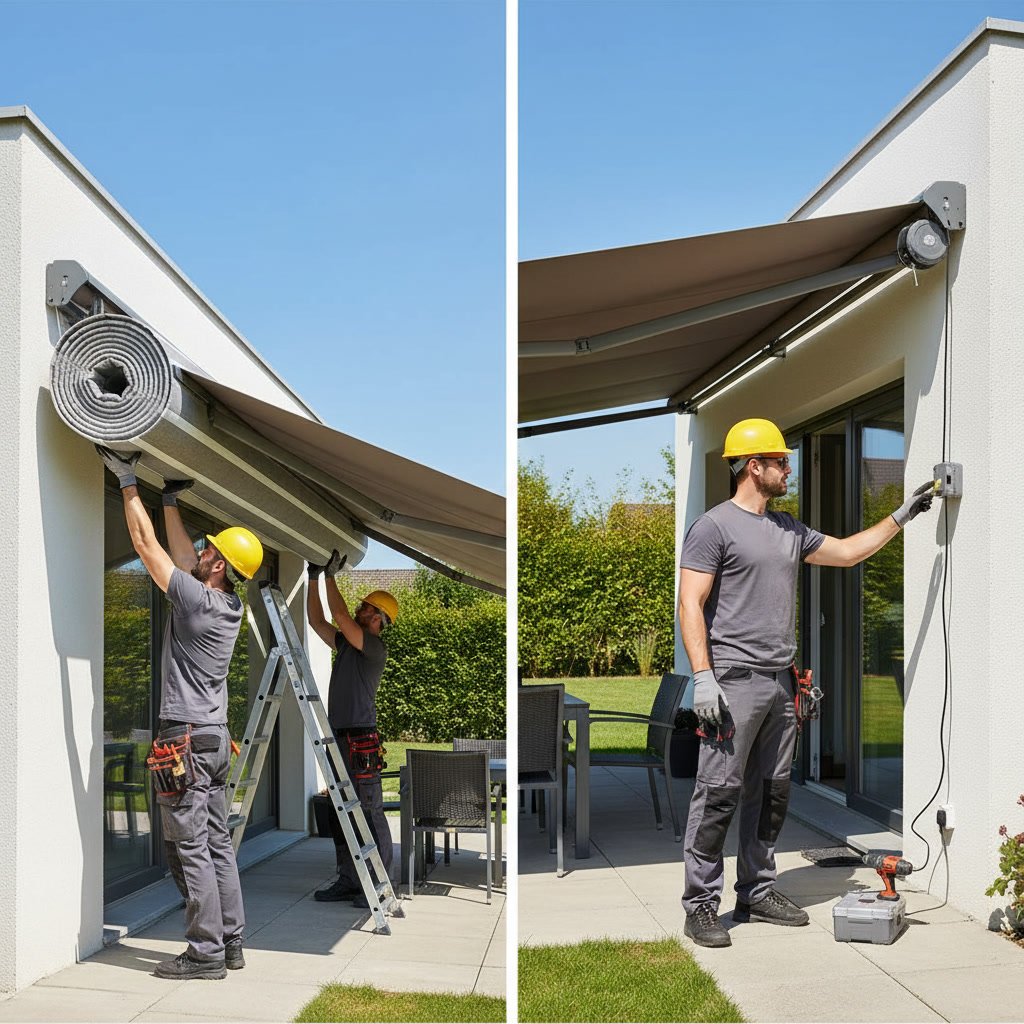
- Electrical hookup (if motorized): Wiring is run to a nearby outlet or hardwired into your home’s electrical system. Switches, remotes, and sensors are installed and tested. This adds 30 to 45 minutes for motorized models.
- Final inspection and operation test: The installer extends and retracts the awning multiple times, checks all fasteners, and confirms the fabric deploys evenly without binding. This final check takes about 10 minutes.
If you’re curious about what happens before installation day, our guide on how awning installation works from measurement to final setup walks through the full project timeline from your first consultation to the completed install.
Single-Story Versus Multi-Story Installation on Kent Island
Ground-level installations on single-story homes or ranch-style properties move faster because installers work from ladders or low scaffolding. Most Kent Island homes fall into this category, where a two-person crew can complete a standard retractable awning in about two and a half hours.
Second-story installations require taller ladders, additional safety equipment, and sometimes scaffolding or lift equipment. This setup adds 30 to 60 minutes to the job. Homes with steep rooflines, limited access, or narrow side yards can present additional challenges that extend the timeline further.
Manual Versus Motorized Awning Installation
Manual retractable awnings use a hand crank to extend and retract the fabric. These systems are mechanically simple and install faster because no electrical work is required. A typical manual awning installation takes two to three hours from start to finish.
Motorized awnings include a tubular motor inside the roller tube, controlled by a wall switch, remote, or smartphone app. Running power to the awning location and mounting the control switch adds time. If your home doesn’t have an outdoor electrical outlet near the mounting area, the installer may need to tap into an existing circuit inside your home, which can add another 30 to 60 minutes.
Wind and sun sensors are optional upgrades that automatically retract the awning when gusts exceed a safe threshold or extend it when sunlight reaches a certain intensity. These sensors require calibration and testing after installation, which adds about 15 to 20 minutes to the overall timeline.
How Mounting Surface Material Changes the Timeline
Wood and vinyl siding are the fastest surfaces to work with. Installers can locate studs or solid backing, drill pilot holes quickly, and drive lag bolts securely without special equipment. Most installations on these surfaces stay within the two to three-hour range.
Brick and concrete block require masonry anchors and carbide-tipped drill bits. The installer must drill slowly to avoid cracking the masonry, and anchor installation takes longer than standard screws. Add 30 to 60 minutes for masonry surfaces compared to wood or vinyl.
Stucco presents additional challenges because installers must drill through the stucco layer and into the underlying substrate, which could be wood sheathing, masonry, or metal framing. Stucco also chips easily around drill holes, so careful technique is essential. Expect similar timelines to brick and block installations.
Homes with metal siding or older aluminum cladding require specialized fasteners and sometimes backing reinforcement to ensure the awning mounts securely. If blocking needs to be installed behind the siding, the job can take an additional hour or more.
Custom Modifications That Extend Installation Time
Some projects require adjustments beyond a standard installation. If your home lacks solid backing at the desired mounting height, installers may need to add blocking or reinforcement inside the wall. This involves removing a small section of siding, installing horizontal blocking between studs, and reassembling the exterior. This type of modification can add one to two hours.
Obstructions like gutters, downspouts, or exterior light fixtures sometimes need temporary removal or relocation to accommodate the awning. Gutter adjustments typically add 20 to 30 minutes, while more complex relocations can take longer.
Custom-painted or powder-coated awning frames may require extra care during handling to avoid scratches or chips. Installers work more slowly to protect the finish, which can add 15 to 20 minutes to the overall job.
Why Experienced Installers Work Faster and Safer
Professional installation teams complete jobs more quickly than general contractors or handyman services because they specialize in awning systems. They know exactly how to locate studs, select the right fasteners for each surface type, and adjust pitch for optimal performance. A crew that installs awnings every day avoids common mistakes that can cost extra time and lead to callbacks.
Factory-trained installers also carry the right tools for every situation. Masonry bits, impact drivers, laser levels, and torque wrenches all contribute to faster, more accurate installations. When you work with a company that handles sales and installations in-house, you avoid the delays and miscommunication that happen when a sales team and installation crew operate separately.
One often-overlooked advantage of experienced installers is their ability to spot potential problems before they become expensive repairs. For example, they’ll notice soft wood or hidden rot around your mounting area and recommend reinforcement before securing the brackets. This proactive approach prevents future issues and ensures your awning stays secure for decades.
Weather and Seasonal Considerations for Scheduling
Installers need dry conditions and moderate temperatures to work safely and efficiently. Rain delays projects because wet surfaces don’t accept sealants properly, and slippery ladders create safety hazards. Wind above 15 miles per hour can make handling large awnings dangerous and difficult. Most companies reschedule installations when weather conditions aren’t ideal.
Summer and early fall are the busiest seasons for awning installations in Maryland. Scheduling during peak season may mean waiting a few weeks for an available appointment, so plan ahead if you want your awning installed before a specific event or holiday.
Winter installations are possible during mild spells, but colder temperatures slow down sealant curing and make it harder to work with certain materials. Some adhesives and caulks require minimum temperatures to bond properly. Installers can work around these limitations, but winter projects may take slightly longer.
How Installation Timelines Compare to Other Outdoor Projects
Retractable awning installations are faster than many other outdoor improvement projects. A deck construction or patio cover installation can take several days to complete, while a typical awning install finishes in half a day. Screened porch additions require permits, framing, and multiple trades, stretching timelines to weeks or even months.
Compared to commercial shade solutions like permanent canopies or aluminum patio covers, retractable awnings offer a much faster path to comfortable outdoor living. You can schedule a consultation, choose your fabric and frame, and have the finished product installed within a few weeks rather than waiting months for a custom-built structure.
If you’re weighing different shade options for your home, it’s helpful to understand the full cost picture. Our breakdown of awning installation costs in Maryland covers pricing factors, material choices, and how installation complexity affects your final investment.
Getting Your Home Ready for a Smooth Installation
Homeowners can help keep installation on schedule by preparing the work area ahead of time. Clear furniture, grills, and planters away from the mounting wall to give installers easy access. Trim back any bushes or tree branches that might interfere with ladder placement or awning operation.
Make sure pets are secured indoors during the installation. Drilling and power tools create noise that can stress animals, and open doors or gates create escape opportunities. Let your installer know if there are any outdoor electrical outlets, exterior lighting, or irrigation systems near the work area so they can plan accordingly.
If your home has an alarm system with exterior motion sensors, disable them before the crew arrives. Nothing slows down a project like repeated alarm activations while installers move around your property.
What to Expect on Installation Day
The installation crew typically arrives within a scheduled window, often in the morning to take advantage of cooler temperatures and better light. They’ll introduce themselves, confirm the mounting location, and review any last-minute details with you. Most homeowners choose to stay home during the installation, but it’s not required as long as someone can provide access to the work area.
You’ll hear drilling, impact drivers, and occasional hammering during the mounting phase. Once the awning is attached, the noise drops significantly. The crew will test the awning multiple times, extending and retracting it to check for smooth operation and proper fabric tension.
Before they leave, the installer will show you how to operate your new awning, explain any maintenance requirements, and answer questions about wind limits, cleaning, or seasonal care. Most companies provide written instructions and warranty information as well.
Plan Ahead for a Fast, Professional Installation
Understanding how long an awning installation takes helps you plan your day and set realistic expectations. Most homeowners are surprised by how quickly a professional crew completes the job, especially compared to other outdoor improvement projects. With the right preparation and an experienced installation team, you’ll be enjoying shade and comfort in just a few hours.
Awning “R” Us has completed thousands of installations across Maryland over four decades, and our in-house crews know exactly how to handle every mounting surface, home style, and site condition. If you’re ready to add a retractable awning to your home in Annapolis, Stevensville, or surrounding areas, reach out to our team for a free consultation and accurate project timeline. Call +14107397544 to schedule your appointment and start enjoying your outdoor space with professional shade coverage.