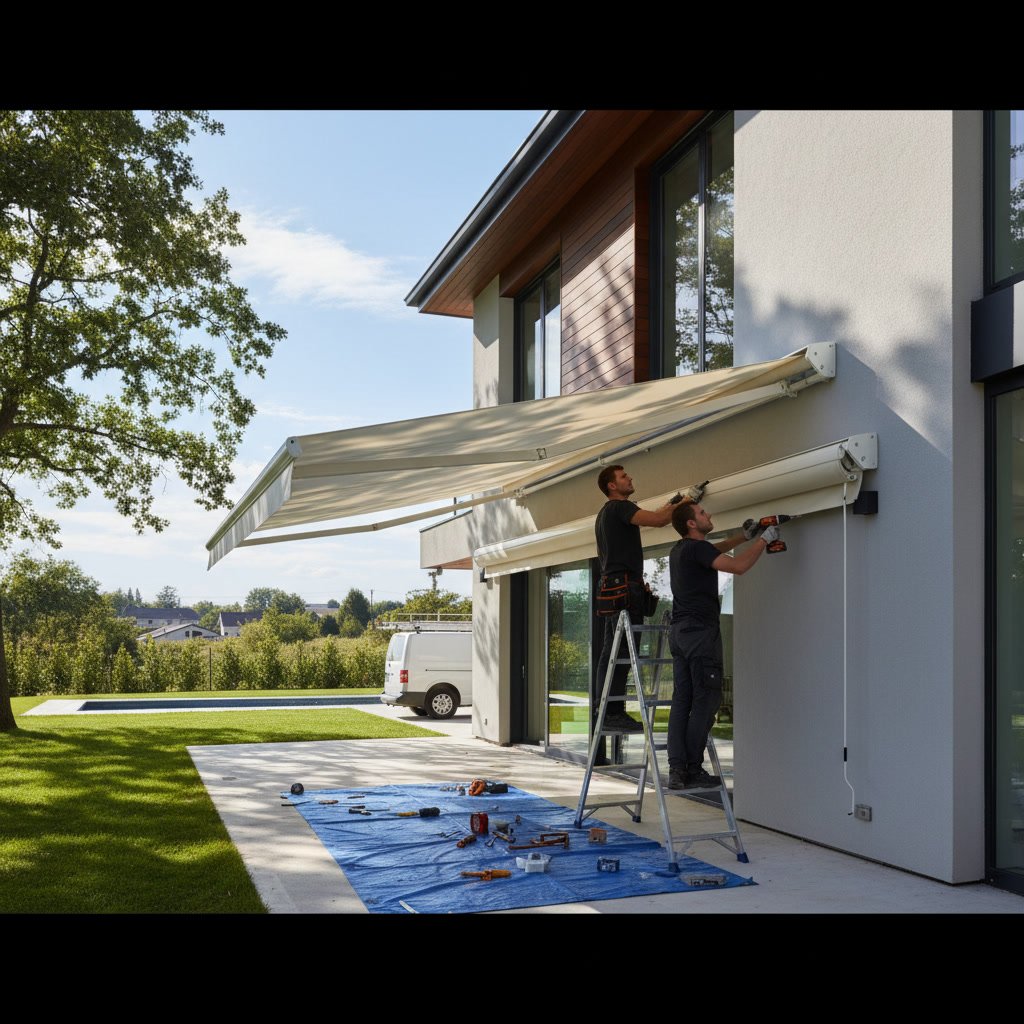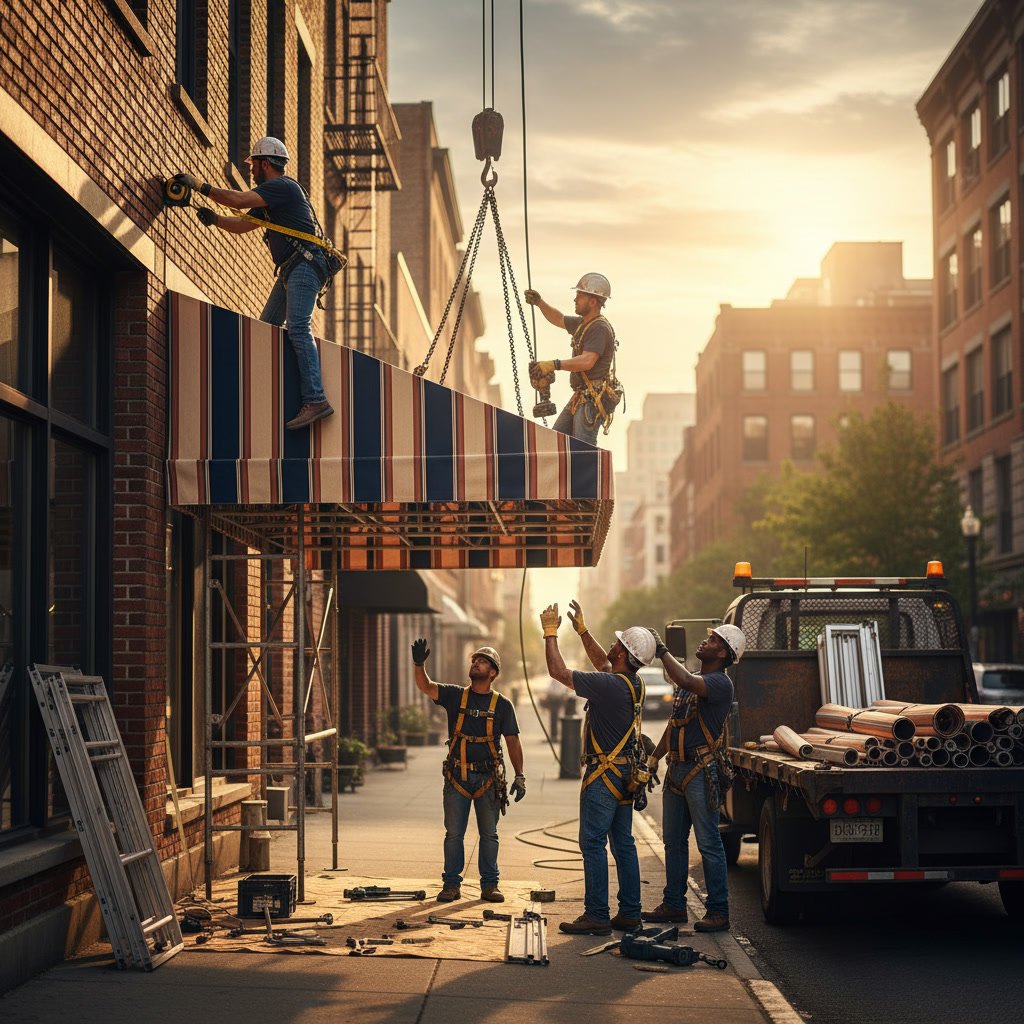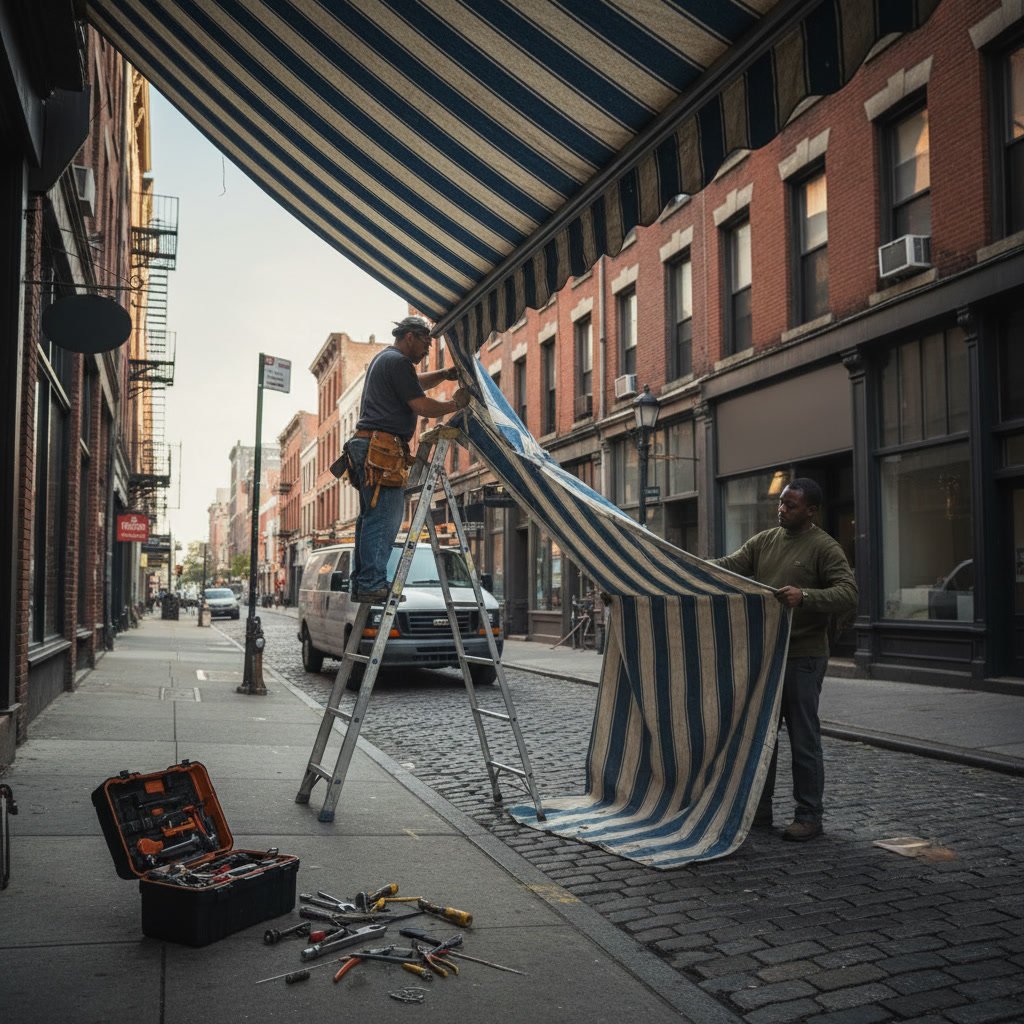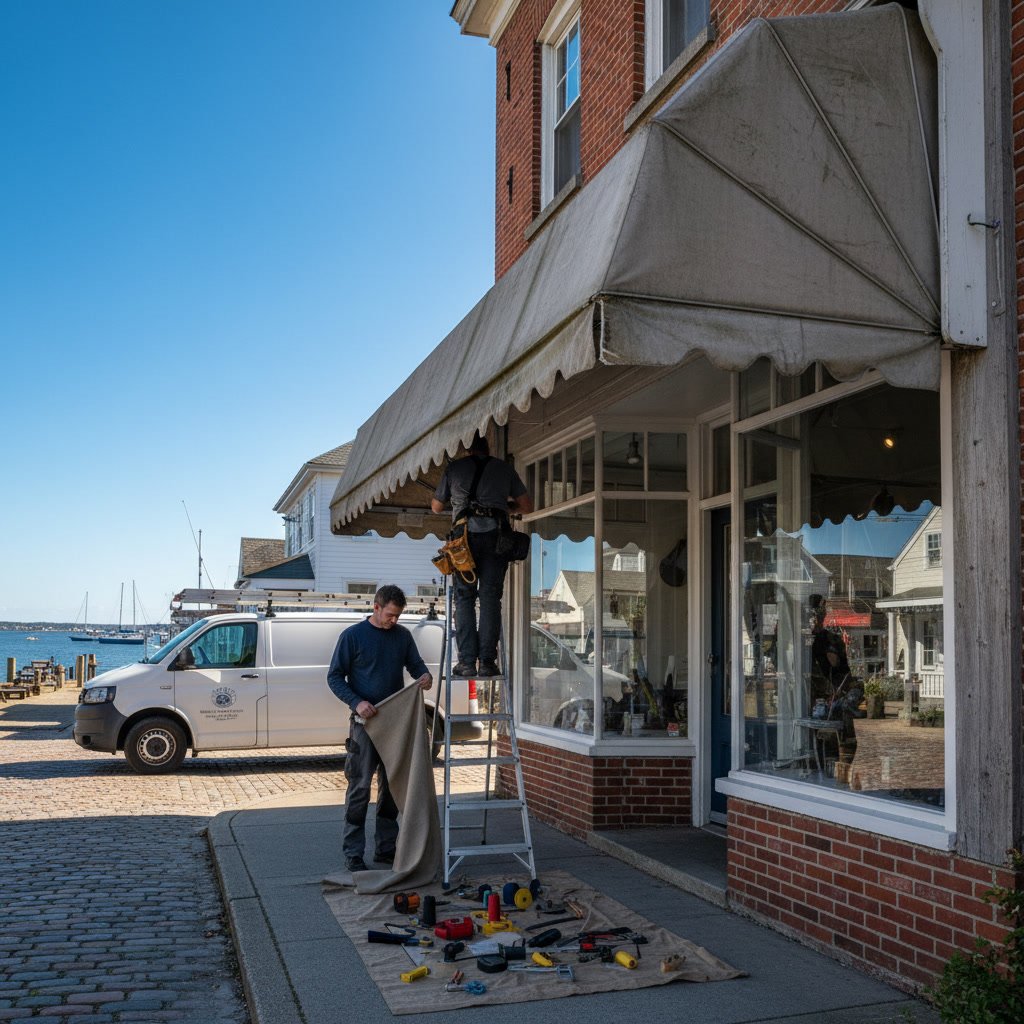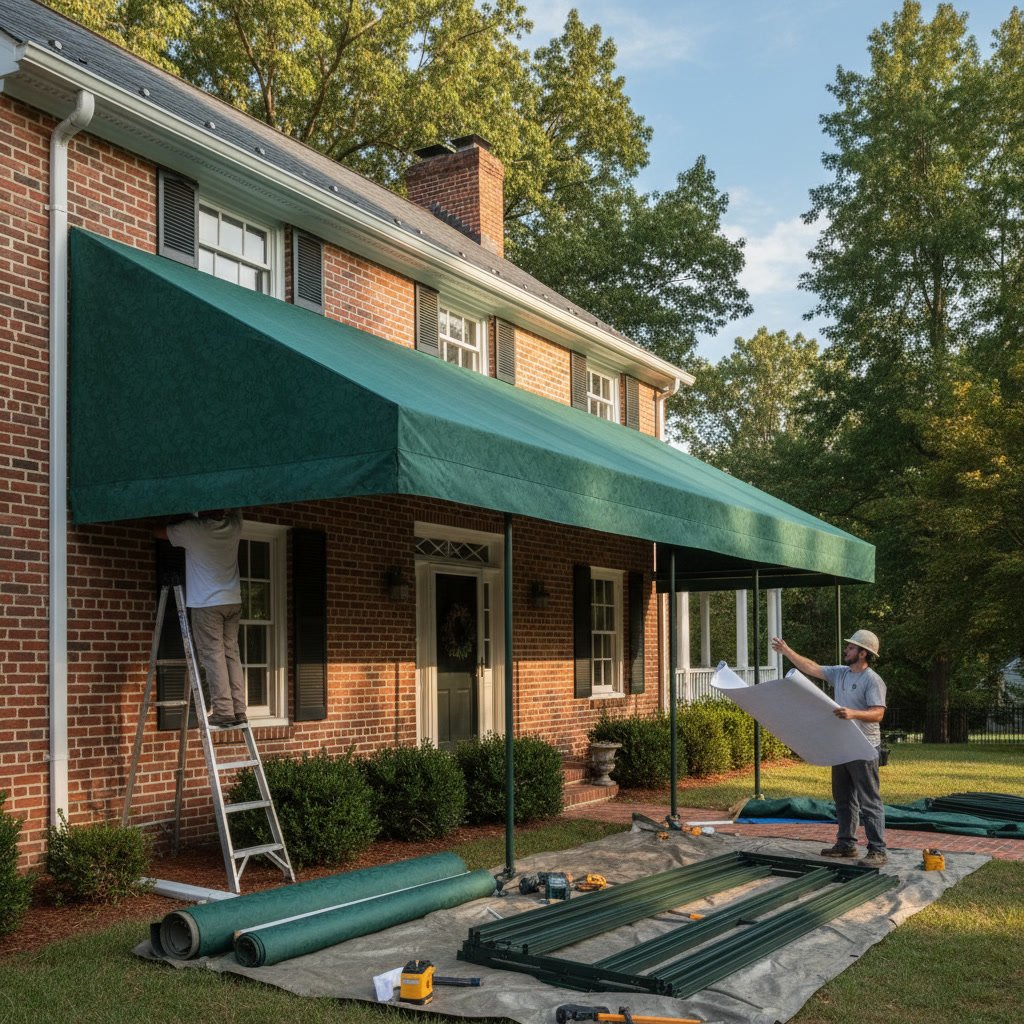
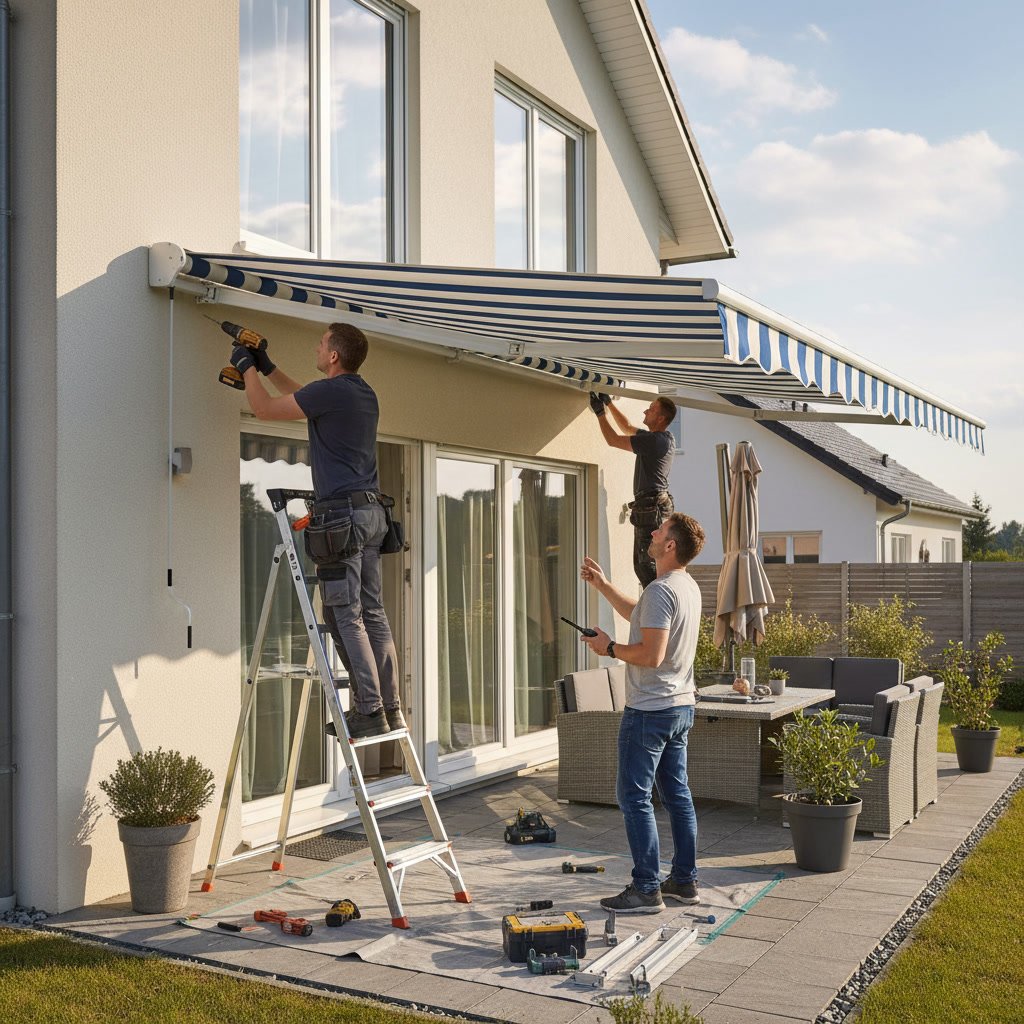
An awning installation appointment typically takes four to eight hours depending on the size and complexity of your project. The crew will assess your mounting surface, confirm measurements, secure the awning structure, test all mechanical components, and walk you through the operating instructions before they leave. Most installations are completed in a single visit with minimal disruption to your daily routine.
Understanding the installation process helps you prepare your property and set realistic expectations for the day. A professional installation ensures your shade solution performs reliably for years and protects your investment from day one.
Why Professional Installation Matters for Longevity
Awnings experience constant stress from wind, rain, and their own weight. An improperly mounted unit can pull away from the wall during a storm, causing expensive damage to both the awning and your home. Professional installers know how to locate studs, use appropriate fasteners for different siding materials, and install flashing that prevents water infiltration behind the mounting brackets.
Factory-direct suppliers often include installation as part of their service model because they understand that even the highest-quality awning will fail prematurely if mounted incorrectly. The right installation protects both the product warranty and your home’s structure.
The Pre-Installation Call and Scheduling
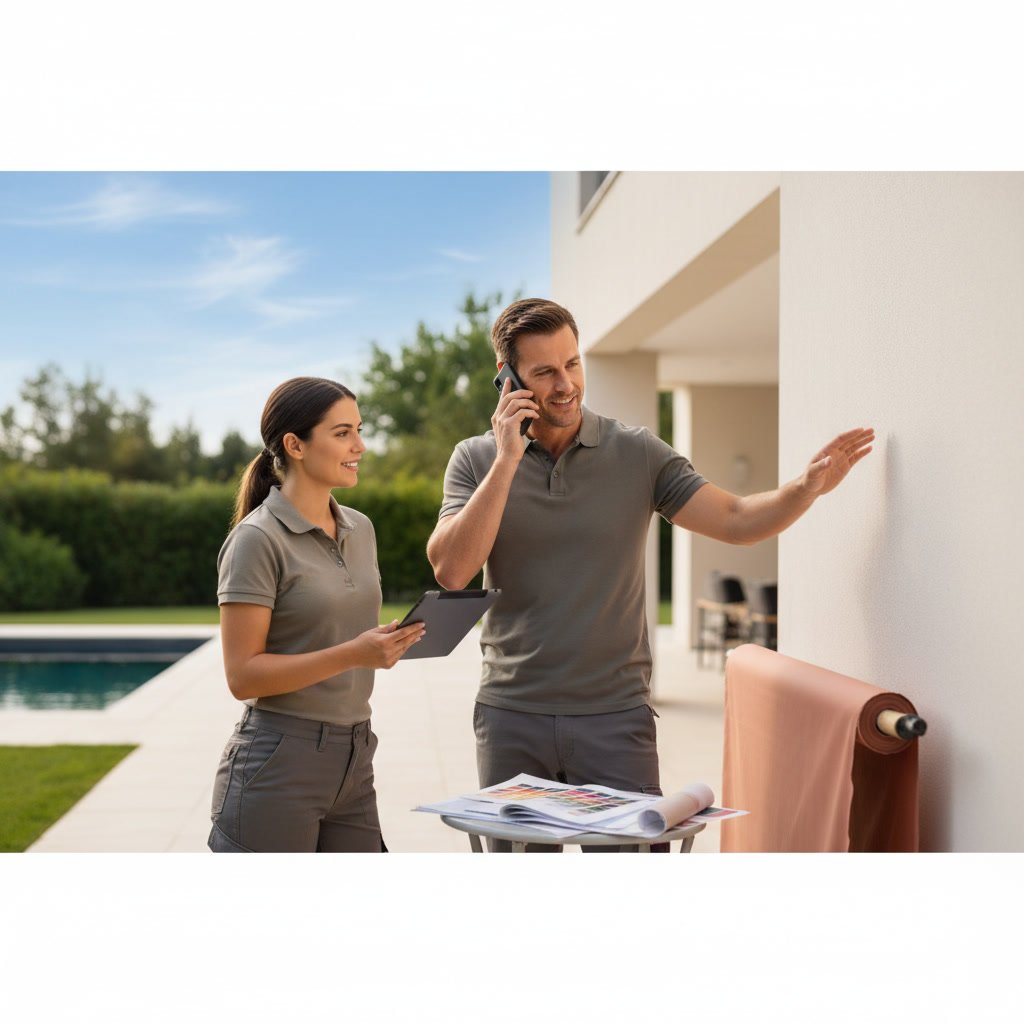
About two to three days before your scheduled date, you should receive a confirmation call from the installation team. They will verify the appointment time, confirm any site-specific details discussed during the estimate, and answer last-minute questions. This is your opportunity to mention any changes to access, such as locked gates or new obstacles near the installation area.
Most crews provide a two-hour arrival window rather than an exact time. Weather can delay the previous job, and complex installations sometimes take longer than planned. The team will typically call or text when they are 30 minutes away.
What the Crew Brings and How to Prepare Your Space
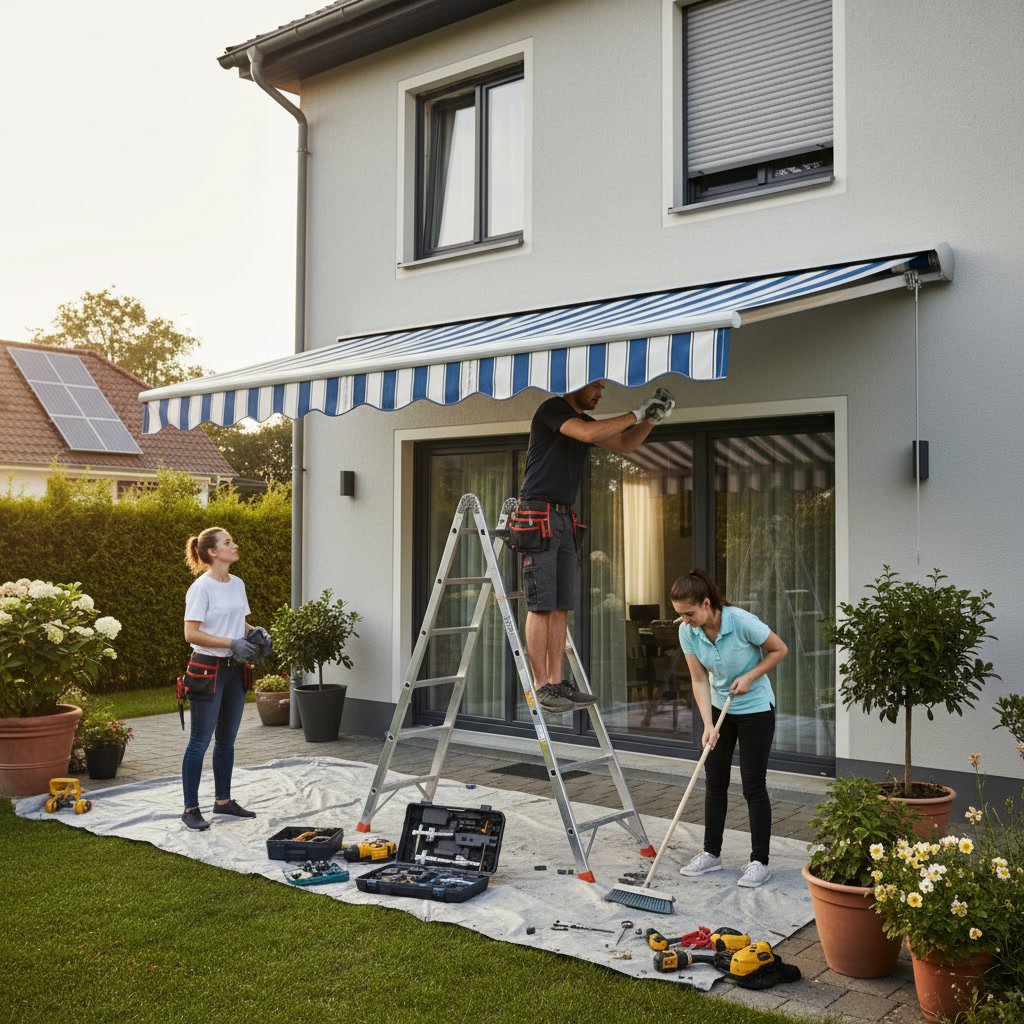
The installation team arrives with the awning components, mounting hardware, power tools, ladders, and safety equipment. They should also bring drop cloths to protect your deck or patio from debris. Professional crews handle all the equipment, so you do not need to provide tools or materials.
Before they arrive, clear furniture, planters, and decorations from the installation area. Move grills at least 10 feet away to provide room for ladders and staging. If the crew needs to access your home’s interior to run wiring for a motorized awning, clear a path and secure pets in a separate room. Trim any branches or vines that hang within three feet of the mounting wall, as they can interfere with the brackets or the awning fabric when extended.
Step-by-Step Walkthrough of the Installation Process on Kent Island
The crew begins by verifying measurements and inspecting the mounting surface. They check for structural integrity, locate wall studs or rafters, and mark the bracket positions. For residential installations, this usually involves using a stud finder and level to ensure the awning sits perfectly horizontal.
Next, they drill pilot holes and secure the mounting brackets with lag bolts or through-bolts, depending on your wall type. Vinyl siding requires special care to avoid cracking, while brick or stucco needs masonry anchors. Once the brackets are secure, the crew attaches the awning roller tube and installs the fabric. For retractable models, they connect the arms and tension springs, then test the extension and retraction cycle multiple times.
Motorized awnings require additional steps. The installer runs electrical wiring from your power source to the motor, mounts the control switch or connects the remote, and programs any wind or sun sensors. They test all automated functions and adjust sensitivity settings so the awning responds correctly to changing conditions.
How Long Different Types of Awnings Take to Install
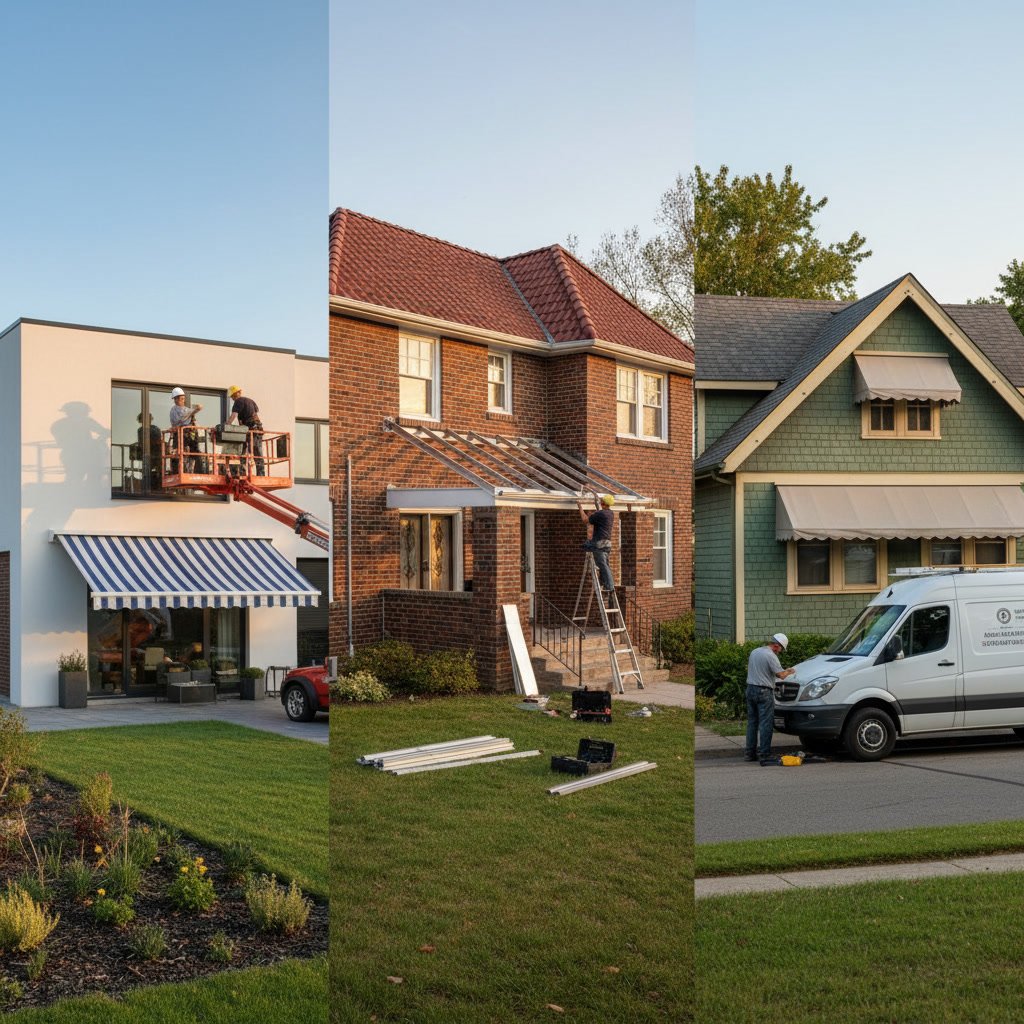
A standard manual retractable awning over a single door or small window takes about four hours. Larger patio awnings spanning 16 to 20 feet require six to eight hours because of the additional weight and the need for precise leveling across a wider span.
Stationary awnings and metal canopies often install faster, typically in three to five hours, because they have fewer moving parts. Commercial projects with multiple units or custom structures can extend to a full day or require a return visit for final adjustments.
Noise, Disruption, and What Happens Inside Your Home
Expect moderate noise from drills, impact drivers, and occasional hammering. The loudest part of the job happens during the first hour when the crew drills into the wall and secures the brackets. After that, most of the work involves assembly and adjustment, which is quieter.
If you work from home, plan for background noise during video calls. Pets and young children should stay inside and away from the work area for safety. The crew does not need to enter your home unless the project includes electrical work for a motorized system. In that case, they will ask for access to your breaker panel or the nearest outlet, and they will cover floors with protective mats.
Testing, Adjustments, and Operator Training
After the physical installation is complete, the crew runs a full test cycle. They extend and retract the awning multiple times, checking for smooth operation and listening for unusual sounds. They adjust the pitch angle to ensure water runs off properly rather than pooling on the fabric.
Before they leave, the installer will demonstrate how to operate your new awning. For manual models, they show you how much force to use on the hand crank and how to recognize when the fabric is fully extended. For motorized units, they explain the control panel, demonstrate the remote, and show you how to override automatic sensors if needed. This is also when they review care instructions, such as retracting the awning during high winds and hosing off the fabric periodically.
If you are curious about budgeting for your project, you may find it helpful to review typical installation costs in Maryland before your appointment.
Cleanup and Final Inspection
A professional crew treats your property with care. They sweep up debris, collect scrap materials, and remove packaging. Any sawdust or drill shavings near the installation site should be cleaned before they leave. Walk around the area with the crew and inspect the mounting brackets, the alignment of the awning, and the condition of your siding or trim.
Check that the awning extends and retracts smoothly and that the fabric sits evenly without sagging or wrinkles. If you notice anything that does not look right, mention it immediately so the installer can correct it on the spot. Most issues are minor and easy to fix during the appointment.
Warranty Documentation and Follow-Up Support
Before the crew leaves, they should provide you with warranty paperwork for both the product and the labor. Keep these documents in a safe place, as you will need them if you ever request service. Many manufacturers offer fabric warranties of 10 years or more, while labor guarantees typically cover the installation workmanship for one to five years.
Ask for the company’s contact information and clarify the process for scheduling maintenance or reporting problems. Reputable installers offer ongoing maintenance and repair services to keep your awning in top condition. Some also provide seasonal check-ups to inspect hardware, lubricate moving parts, and tighten bolts that may have loosened over time.
Common Installation Challenges and How Pros Handle Them
Older homes sometimes present surprises, such as hollow walls, deteriorated wood, or unexpected wiring behind the siding. Experienced installers carry extra materials to address these issues. If the original mounting location is not structurally sound, they may suggest shifting the awning a few inches or adding reinforcement plates to distribute the load.
Weather can also affect the schedule. Rain does not always stop the work, but high winds make it unsafe to handle large fabric panels. If conditions are unsafe, the installer will reschedule rather than risk damaging your new awning or compromising the quality of the installation.
Making the Most of Your New Outdoor Space
A professionally installed awning transforms how you use your patio, deck, or storefront. The shade lowers surface temperatures by 20 degrees or more, protects your furniture from fading, and extends your outdoor season well into the warmer months. Retractable models give you flexibility to enjoy full sun when you want it and instant shade when temperatures climb.
Your investment pays off in comfort, energy savings, and curb appeal. Homes with quality awnings often see reduced cooling costs because the shade blocks direct sunlight from entering windows and heating interior spaces. Awning “R” Us has spent over 40 years helping Maryland families and businesses enjoy these benefits through careful planning and expert installation.
If you are ready to schedule your project or have questions about what your specific property requires, reach out to Awning “R” Us at +14107397544. The team is happy to walk you through the process and provide a free estimate tailored to your home or business.